123Inspiration
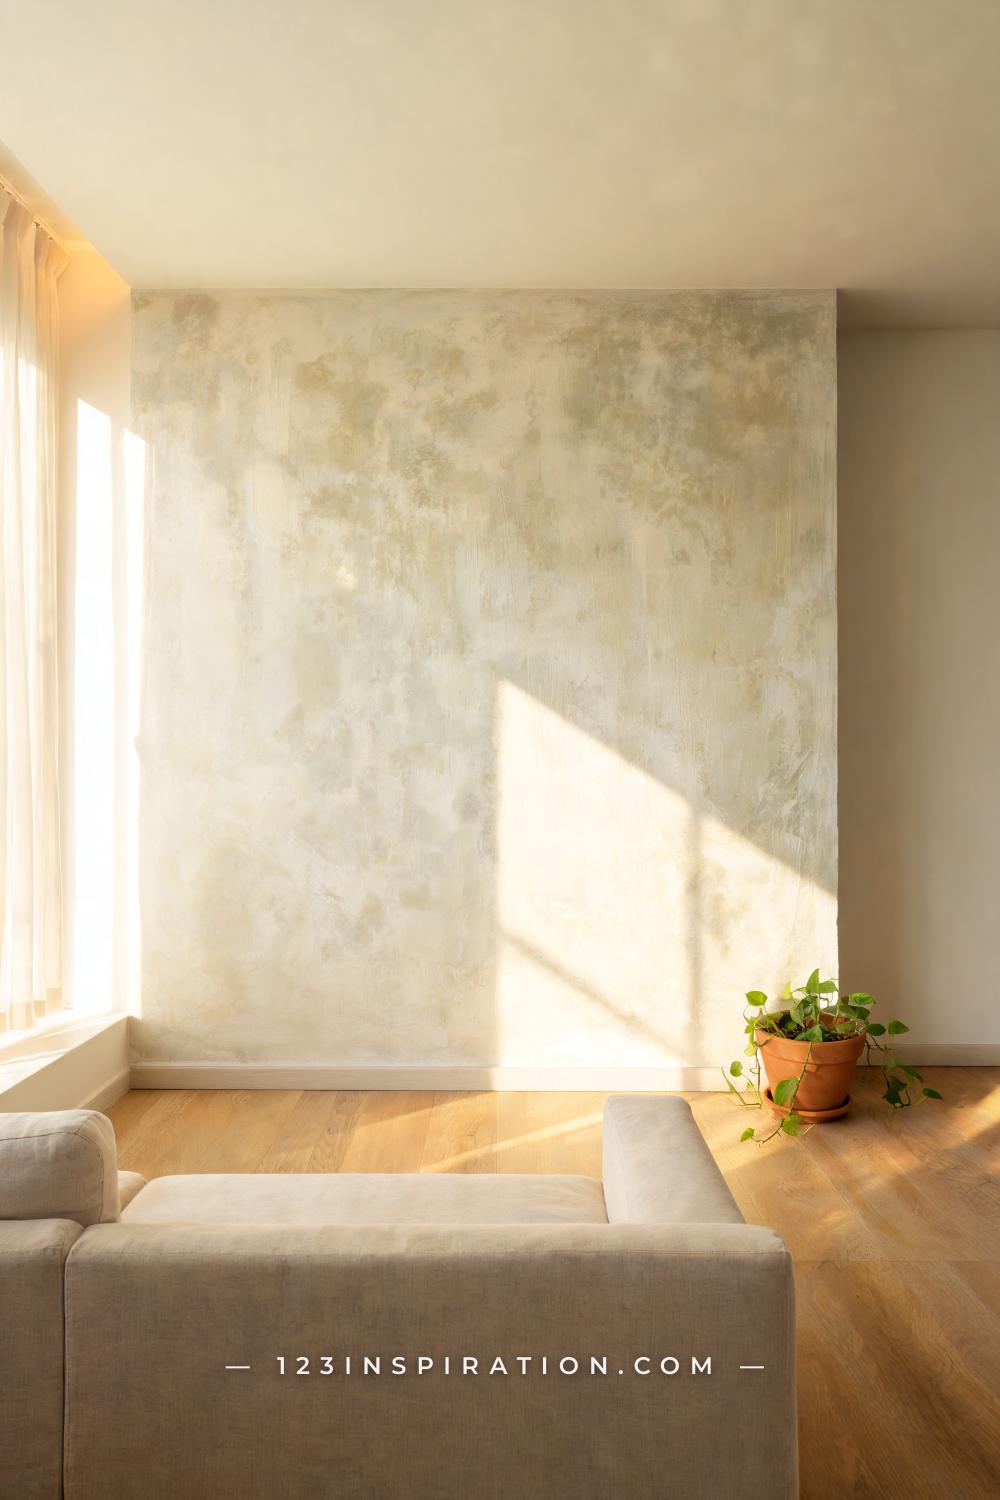
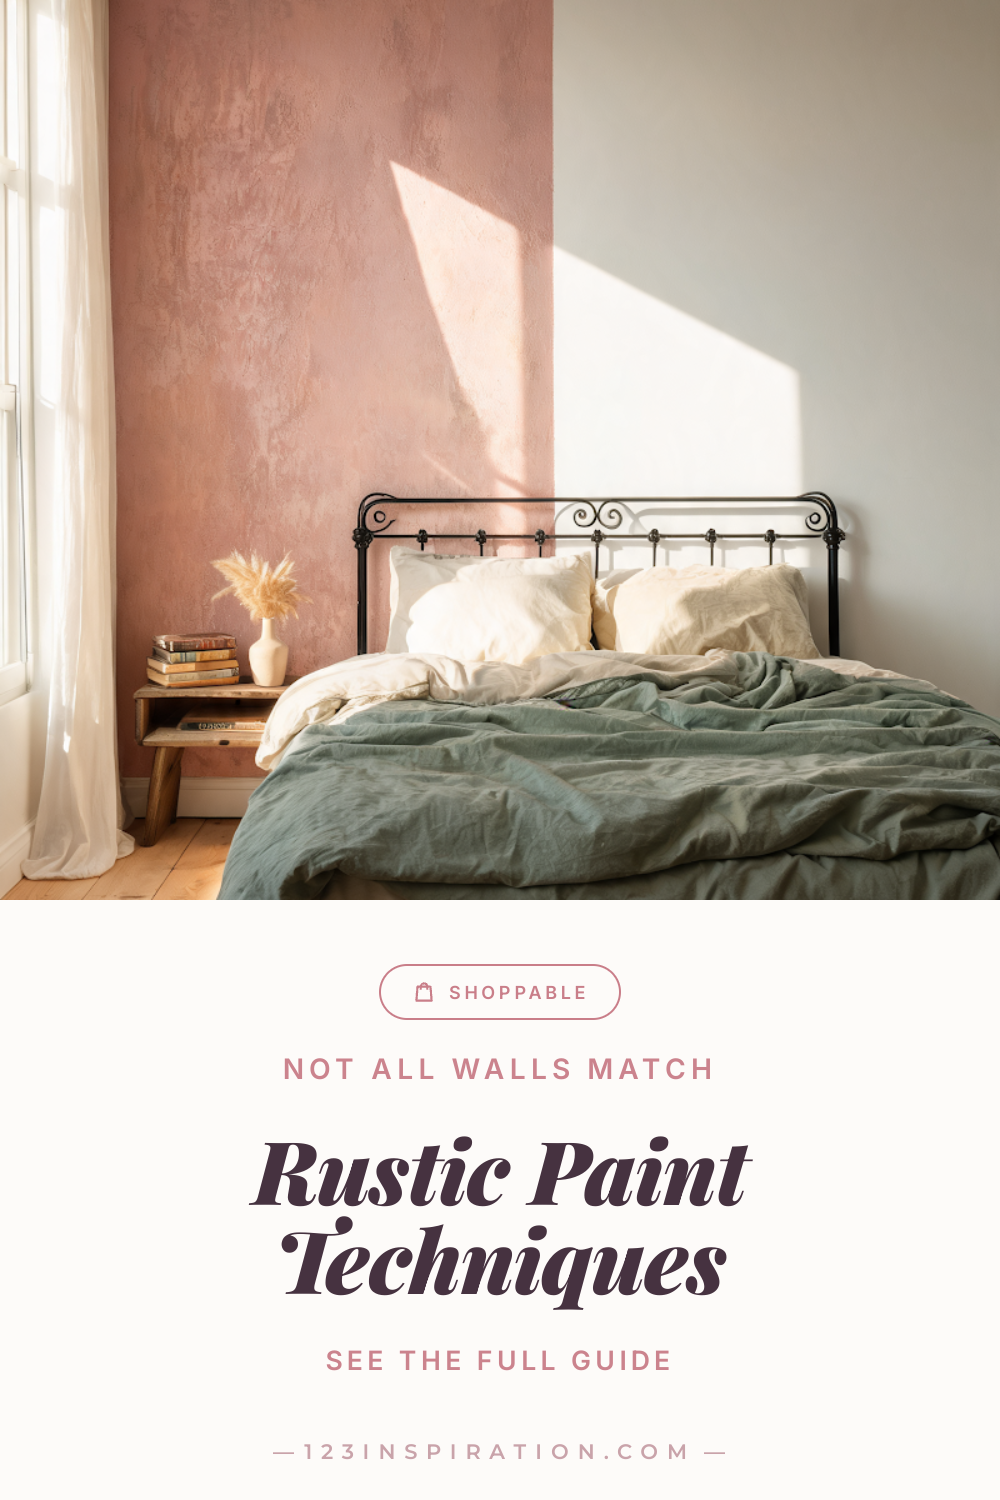
If you have ever saved a photo of a moody limewashed bedroom or a chippy milk-paint dresser and then stared at your own flat walls wondering where to even begin, you are not alone. Rustic paint techniques have never been more popular — and for good reason. They add depth, texture, and the kind of warmth that no amount of throw pillows can manufacture on their own. The problem is that most guides show you how to apply each finish without ever helping you figure out which one actually belongs in your room. This article does that. Below, you will find ten techniques — from limewash to crackle to color wash — matched to real rooms, real surfaces, and honest skill levels, so you can stop saving and start painting.
What Makes a Finish Feel “Aged” — and Why It Works
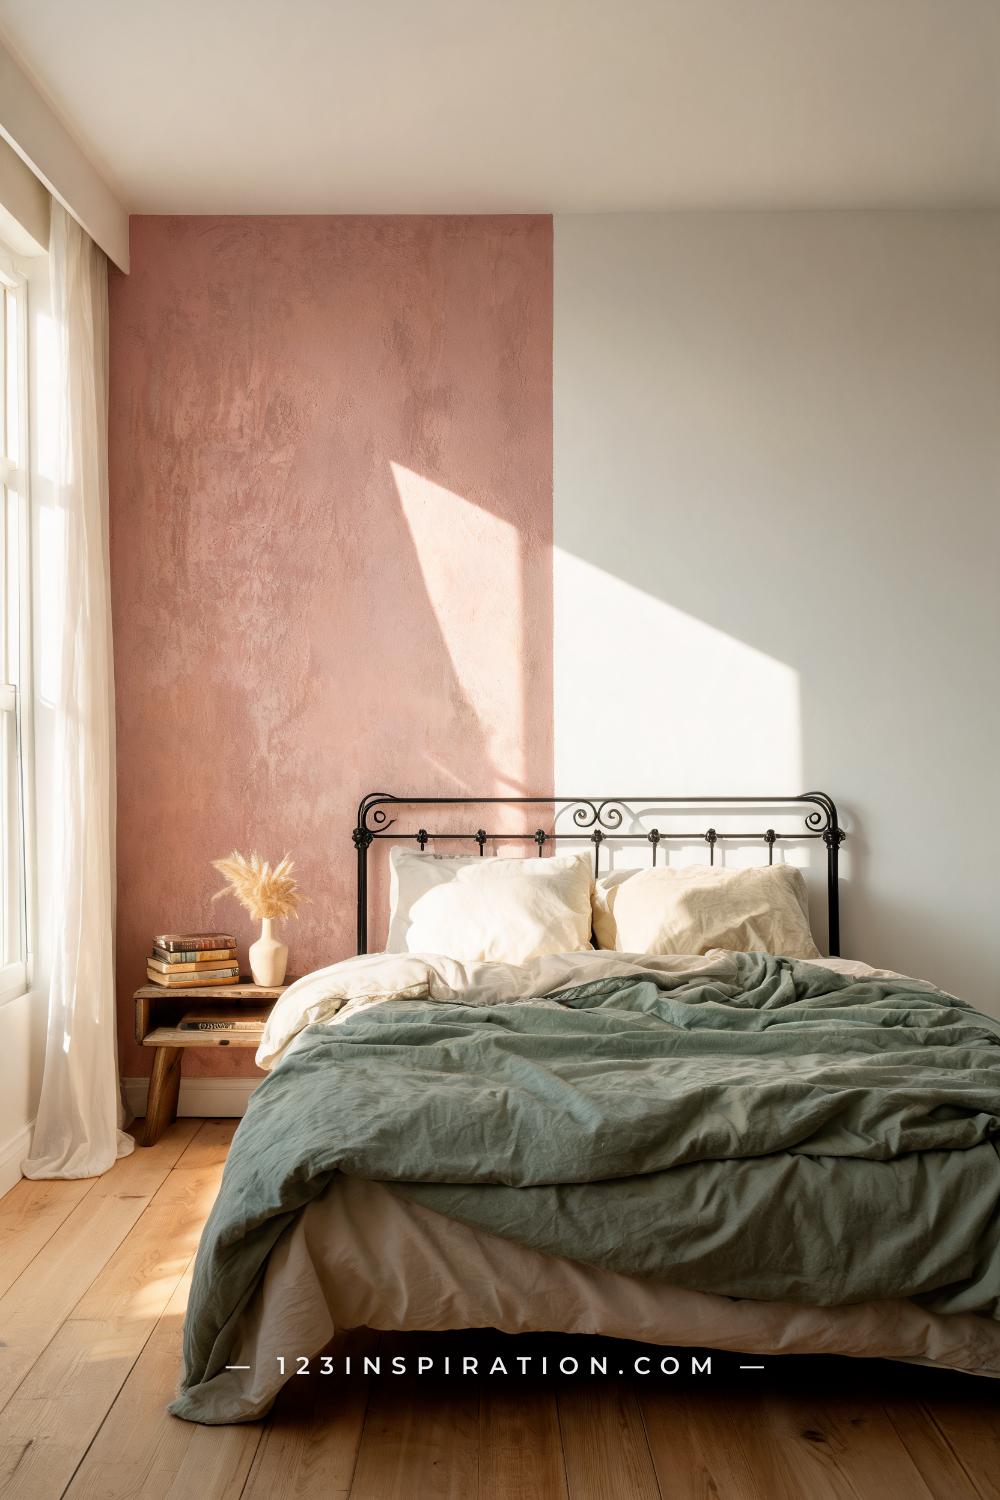
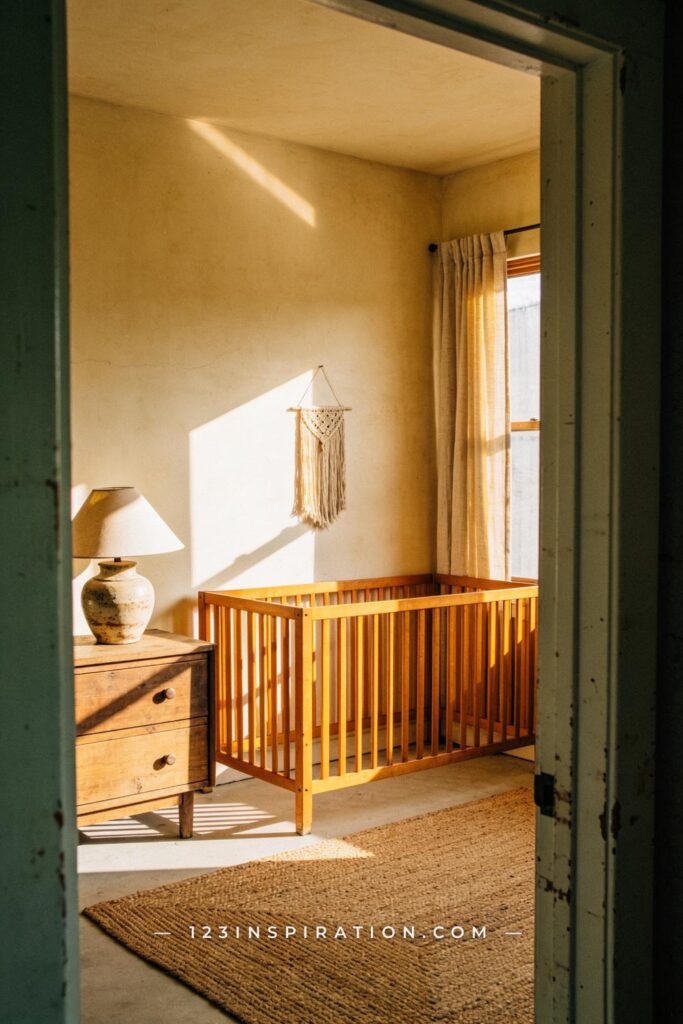
The magic of rustic paint techniques is not random — it is intentional imperfection. Unlike flat paint or eggshell, which coat a surface uniformly, aged finishes work by applying color unevenly: in layers, in diluted washes, or with deliberate texture that catches light differently at every angle. That variation is what tricks the eye into reading “old” and “real” instead of “freshly painted.”
Understanding why these finishes work helps you use them correctly. Limewash, for example, gets its depth from the calcite particles in the lime that reflect light at different intensities depending on how thick each stroke was applied. Milk paint’s chippy quality comes from genuine protein-based adhesion that grips porous surfaces and releases from sealed ones — which is actually a feature, not a flaw, when you want that authentic worn look.
Key Takeaway: Aged finishes work because they create tonal variation and texture that flat paint cannot fake — once you understand the mechanism, you can control the outcome.
Limewash Paint: The Technique That Reads Like History
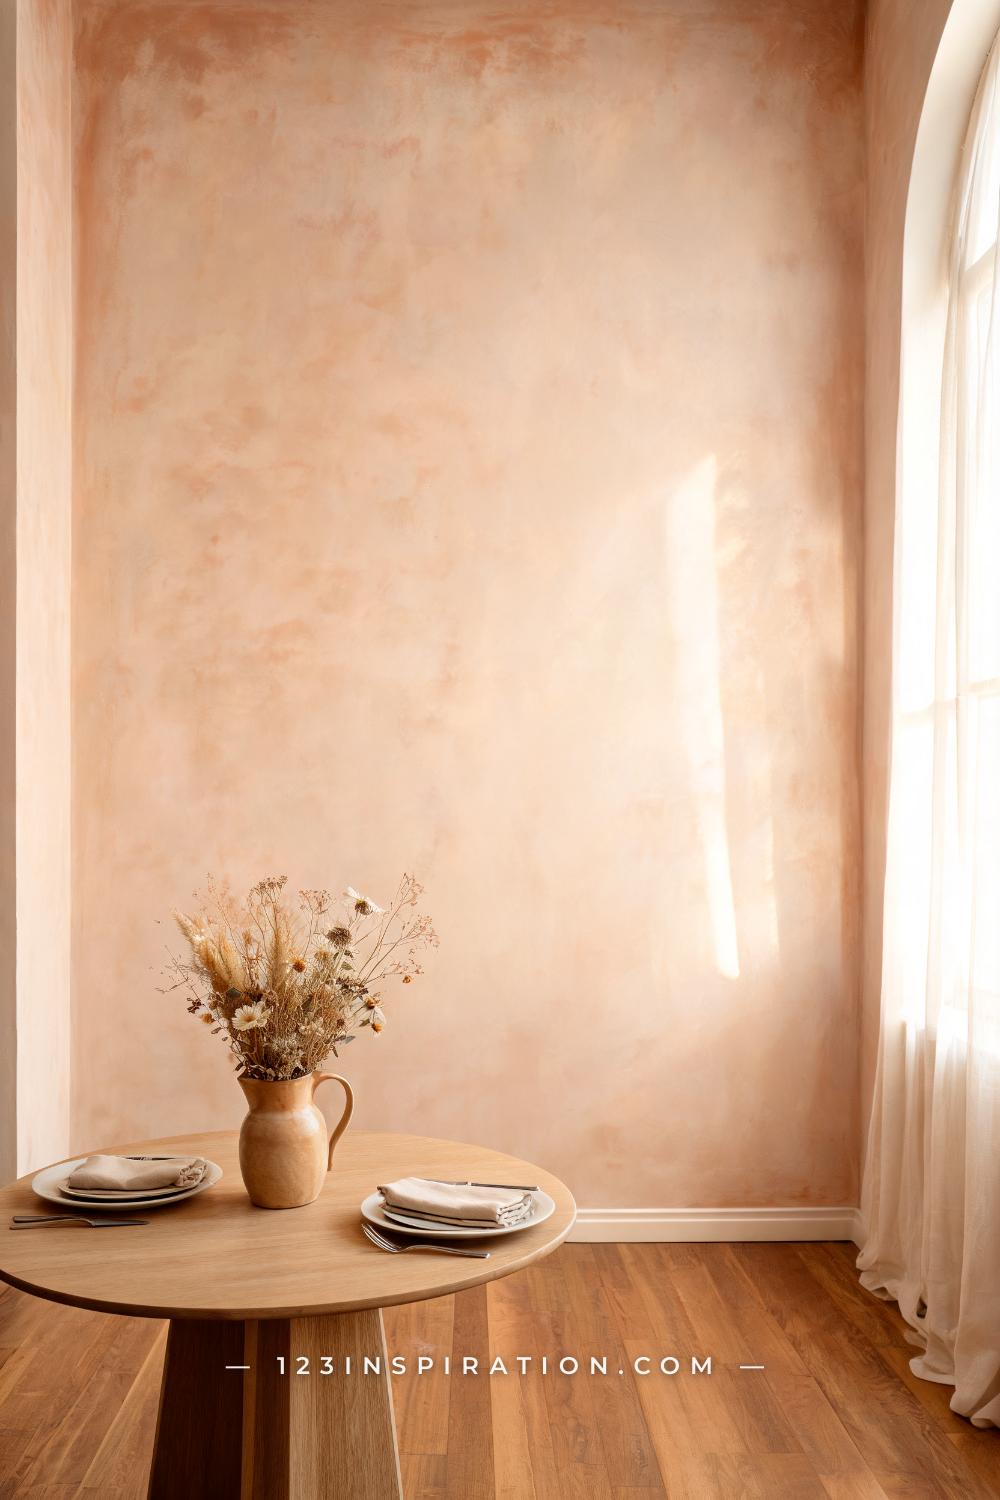
Limewash is the technique most people mean when they say they want walls that look centuries old. It is made from crushed limestone that has been slaked (combined with water), creating a calcium-hydroxide-based paint that carbonates as it dries — essentially turning back into soft stone on your wall. The result is a cloudy, mineral depth with naturally soft color variation that no standard paint can replicate.
The most important thing to know about limewash: it works beautifully on raw plaster, brick, and porous drywall, but it needs a bonding primer on already-painted walls. Portola Paints Classico Limewash and Romabio Classico Limewash are the two most recommended products for painted drywall specifically — both come with clear prep instructions for sealed surfaces. Apply in an X or crosshatch motion with a wide brush, working section by section and keeping a wet edge. You can wipe back while wet for softer variation, or layer a second coat in a slightly different hue for more depth.
Key Takeaway: Limewash is the highest-impact rustic technique, but surface prep — especially bonding primer on sealed walls — determines whether it succeeds or fails.
Milk Paint: The Right Finish for Furniture, Cabinets, and Accent Pieces
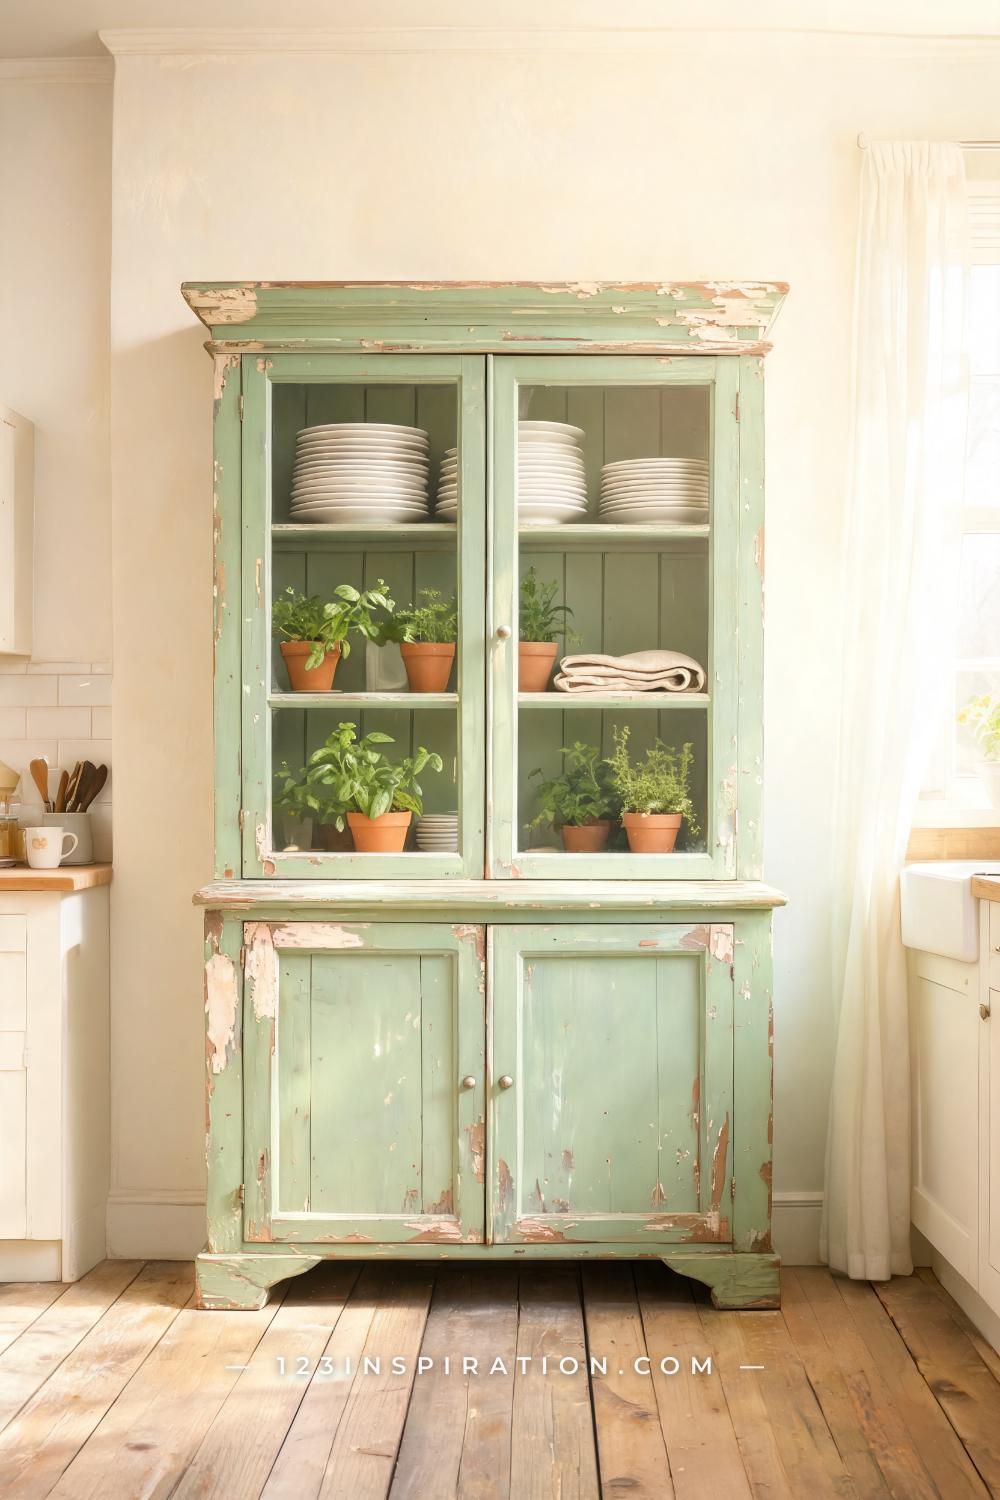
Milk paint is a protein-based finish made from casein (milk protein), lime, and natural pigments. It has been used on American colonial furniture for centuries, and its revival in the DIY world is entirely deserved — when applied to raw or lightly sanded wood, it creates a genuinely chippy, matte finish that looks like it came out of a French farmhouse attic.
The key distinction: milk paint WANTS to chip on sealed or painted surfaces, and it adheres firmly on raw, porous ones. If you want the chippy look, apply directly to a previously painted (sealed) surface with no bonding agent. If you want full, even coverage, sand to bare wood and add a bonding agent (Real Milk Paint Co. sells one specifically formulated for their product). Miss Mustard Seed’s Milk Paint and Real Milk Paint Co. are the two most consistent brands for color range and working time. Milk paint is not ideal for walls — it is a furniture and cabinetry finish first.
Key Takeaway: Milk paint is the best technique for furniture with authentic chippy character — use a bonding agent for even coverage, skip it if you want natural chipping on sealed pieces.
Color Washing: The Beginner-Friendly Aged Wall Effect
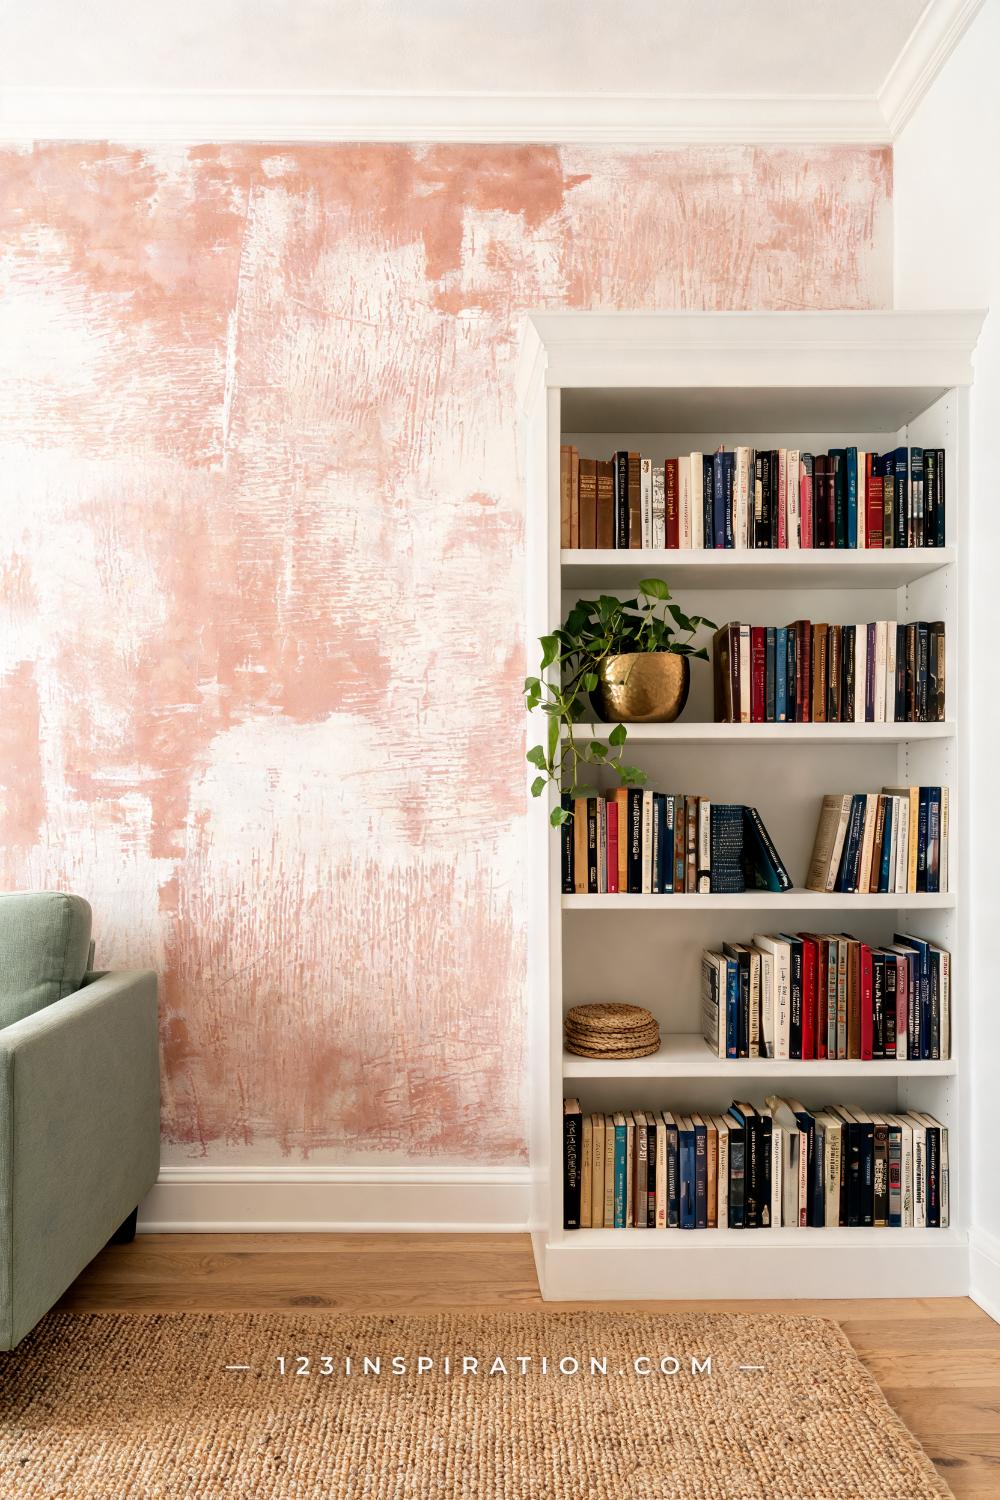
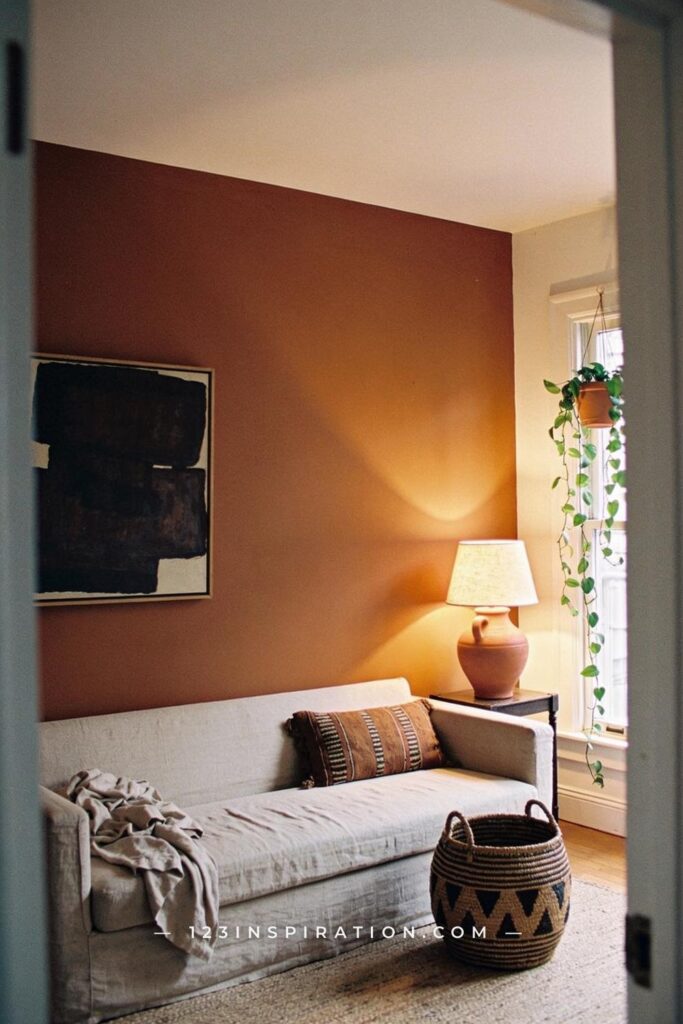
Color washing is the most forgiving of all the rustic paint techniques — and it is the one to reach for if you want aged texture on a budget with a manageable learning curve. The technique involves applying a thin glaze (a mix of paint and glaze medium, typically in a 1:3 or 1:4 ratio) over a dry base coat in loose, sweeping strokes, then softening edges with a dry brush or rag before the glaze sets.
The effect reads somewhere between watercolor and aged plaster — soft tonal variation without the strong contrast of limewash or the mineral cloudiness of Venetian plaster. It works on standard drywall with no special primer, costs a fraction of professional-grade products, and can be done in a single afternoon. Use a darker version of your wall color as the glaze for a subtle, tonal effect, or choose a complementary hue (warm ochre over creamy white, dusty rose over pale blush) for more visible variation.
Key Takeaway: Color washing is the ideal starting point for first-time rustic finish projects — low risk, low cost, and easy to adjust before the glaze dries.
Venetian Plaster: The Technique Worth Hiring Out (At Least Once)
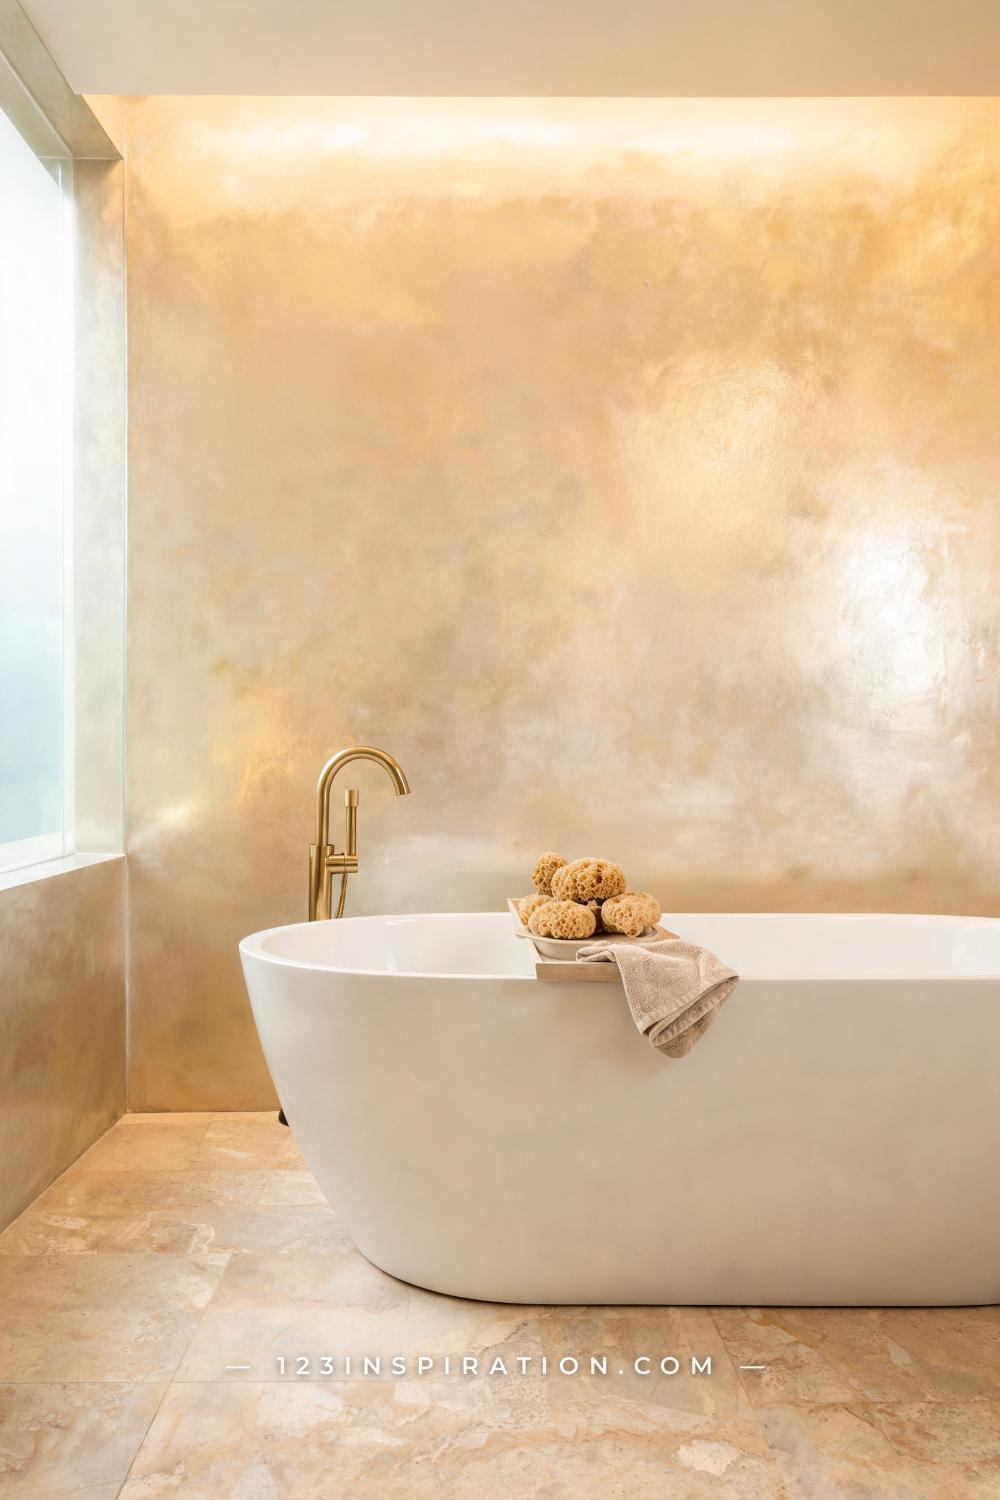
Venetian plaster is technically not paint — it is a lime-based plaster mixed with marble dust, applied in multiple thin layers and then burnished to a high sheen with a steel trowel. The result is the most visually sophisticated of all the aged finishes: luminous, with a depth that reads almost like polished stone. It is also the most demanding technique on this list.
The honest truth: Venetian plaster has an enormous skill ceiling. The application timing, trowel pressure, and burnishing sequence require practice to get right, and the materials cost more than standard paint. If you want authentic Venetian plaster on a focal wall in a bathroom or entryway, hiring a specialty finisher for that one room is worth it — you will use that wall as inspiration and skill-building reference for the rest of the house. DIY-friendly alternatives like American Clay Loma or ROMAN ELEGANCE Venetian Plaster Smooth Finish can deliver a similar visual result with a more forgiving application window.
Key Takeaway: Venetian plaster delivers the most refined aged finish but rewards either professional application or significant practice — reserve it for a single high-impact wall rather than an entire room on the first attempt.
Weekly Inspiration
1000 ideas, one home at a time
Dry Brushing: Instant Texture on Furniture and Architectural Details
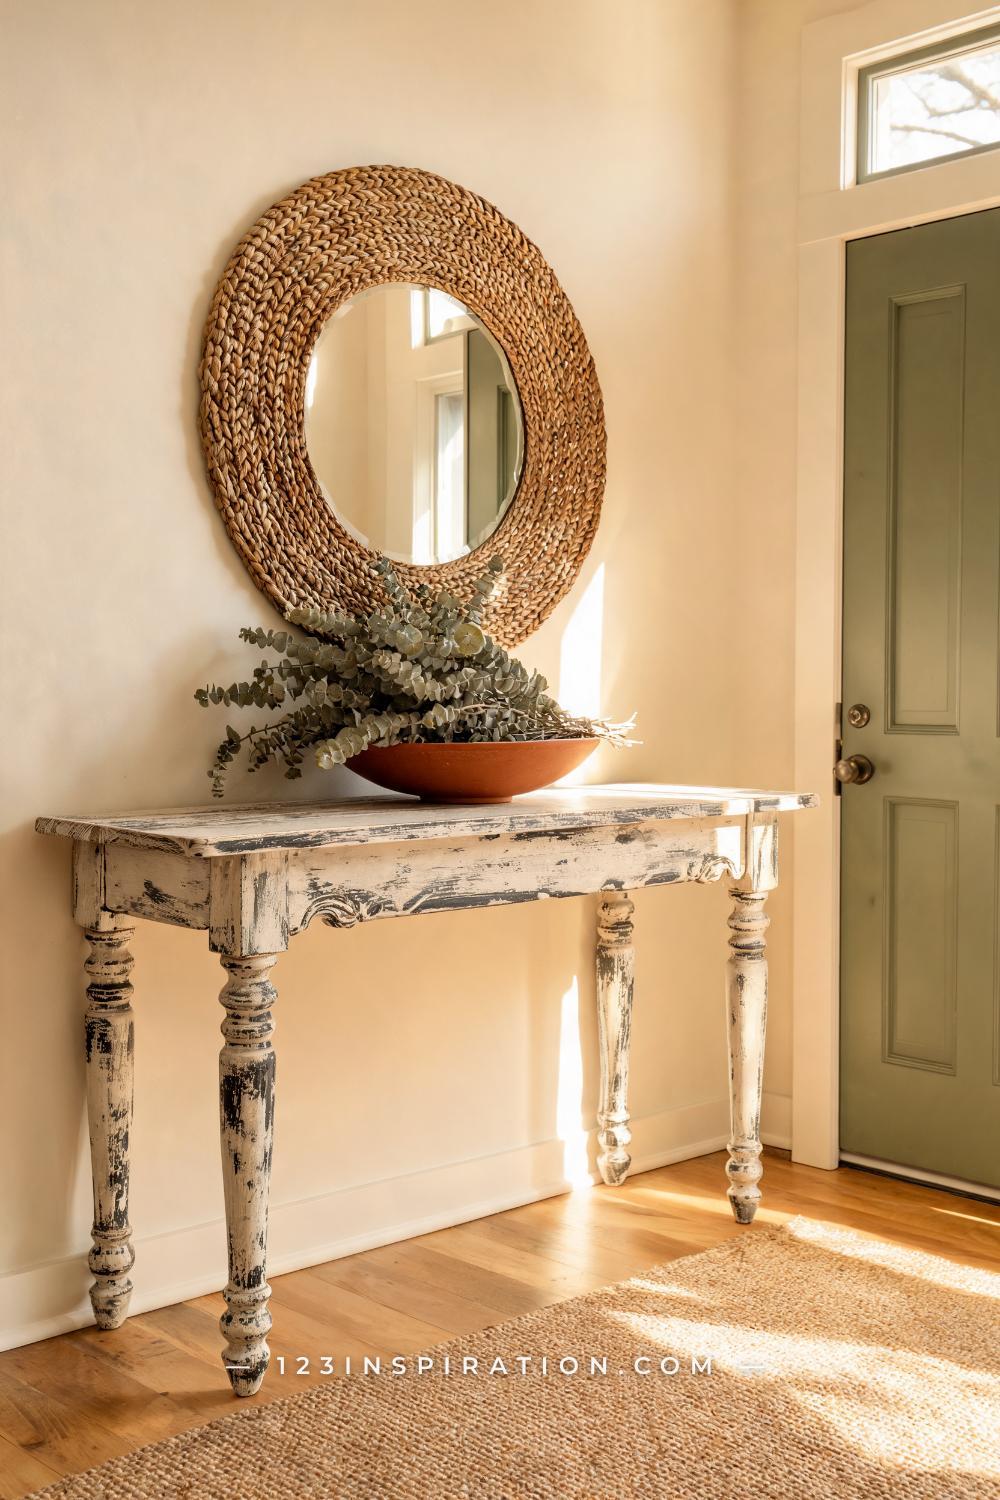
Dry brushing is exactly what it sounds like: loading a wide, stiff-bristled brush with a small amount of paint, removing almost all of it on a rag or paper towel, then dragging the nearly-dry brush across the surface in light, fast strokes. The bristles deposit paint only on the raised edges and texture of the surface, leaving the base coat visible in the recesses — creating instant, controlled wear.
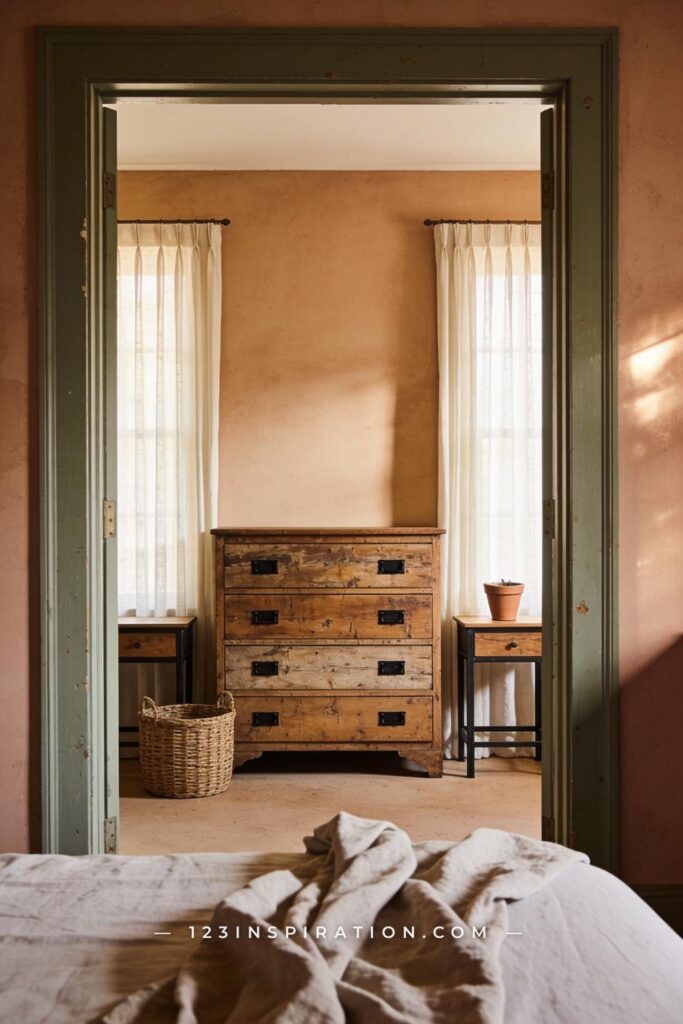
This is the fastest rustic technique on the list. A side table, a picture frame, or a set of cabinet doors can be dry-brushed in under an hour. It works on any painted surface, raw wood, or even brick. The standard approach is to dry-brush a lighter color over a dark base (classic farmhouse chippy effect), but reversing it — a darker dry-brush over a light base — creates a shadowed, antique look that works well on carved or detailed pieces. Use chalk paint or flat latex for the driest, most controlled application.
Key Takeaway: Dry brushing is the best technique for adding instant aged texture to furniture, frames, or architectural millwork in a single afternoon with minimal tools.
Crackle Medium: Strategic Use Only
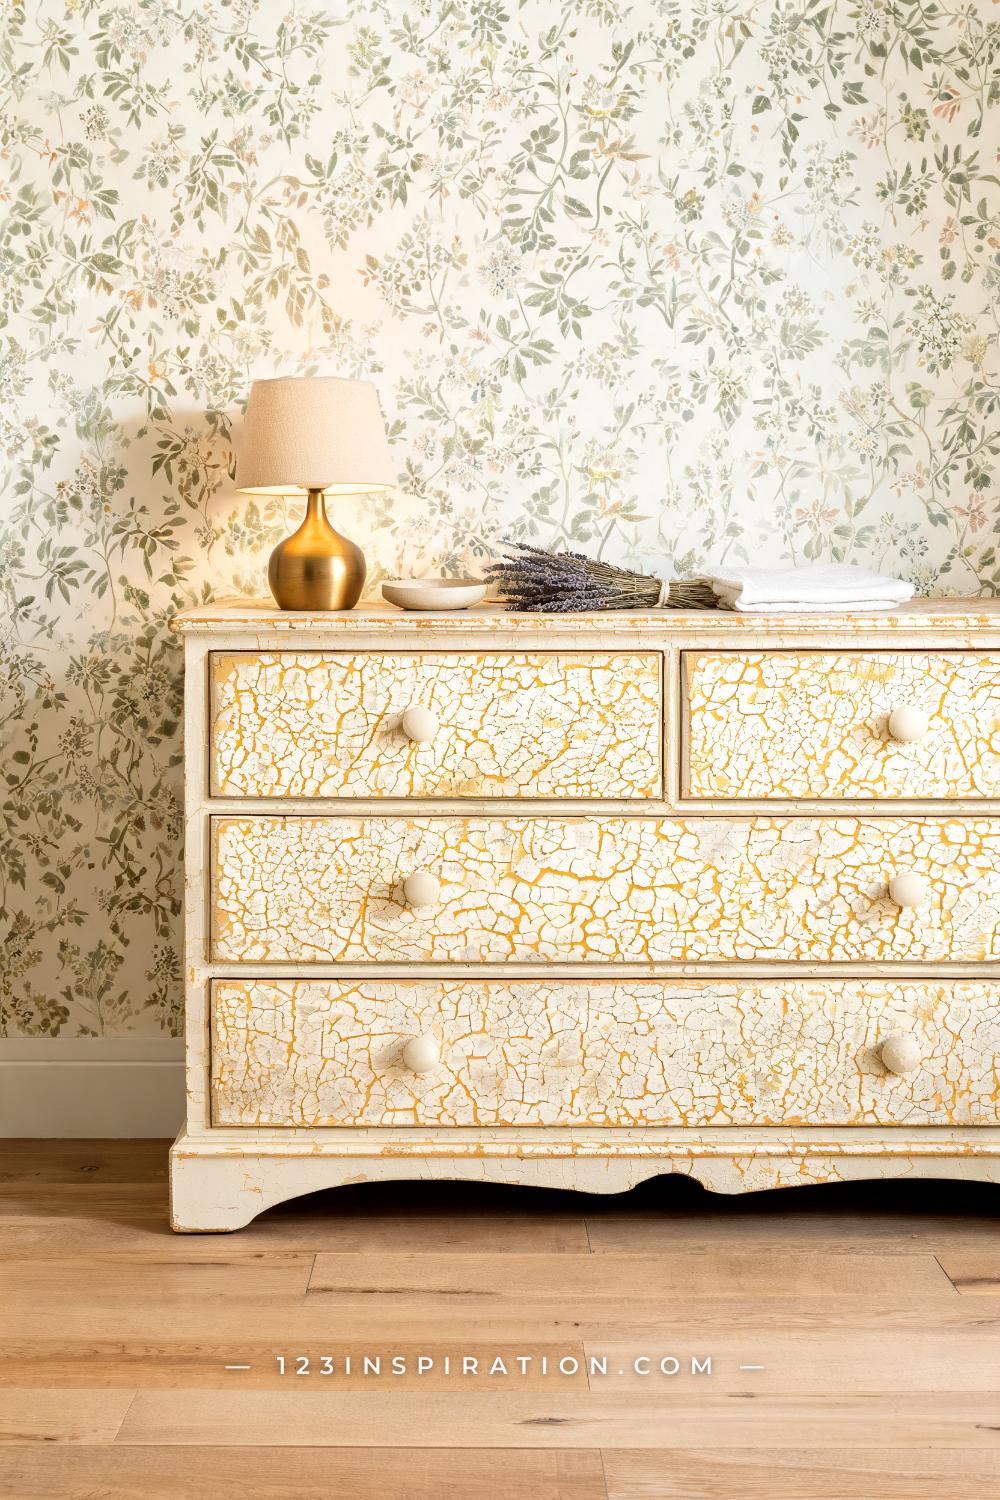
Crackle medium is applied between two paint layers — a base coat and a top coat — and causes the top coat to split open as it dries, revealing the base color in a network of cracks that mimics aged, naturally dried paint. The size of the cracks depends on how thick the crackle medium is applied: thin layers produce fine hairline cracks, thick applications produce bold, wide splits.
The important caveat: crackle medium is a feature finish, not an all-over room technique. It reads best on furniture drawer fronts, cabinet doors, or small accent pieces — places where the cracking pattern can be seen and appreciated up close. On large walls it can look uneven and unintentional unless you are extremely consistent with application thickness. For furniture use, DecoArt Crackle Decoupage Medium and Rust-Oleum Crackle Accents are both reliable and widely available. Always apply a protective topcoat — wax or matte sealant — once the crackle has fully dried, as the surface is fragile before sealing.
Key Takeaway: Use crackle medium on furniture and cabinet details, not on whole walls — and always seal the finished surface to protect the delicate crack pattern.
Whitewashing: The Light-Handed Version of Full Limewash
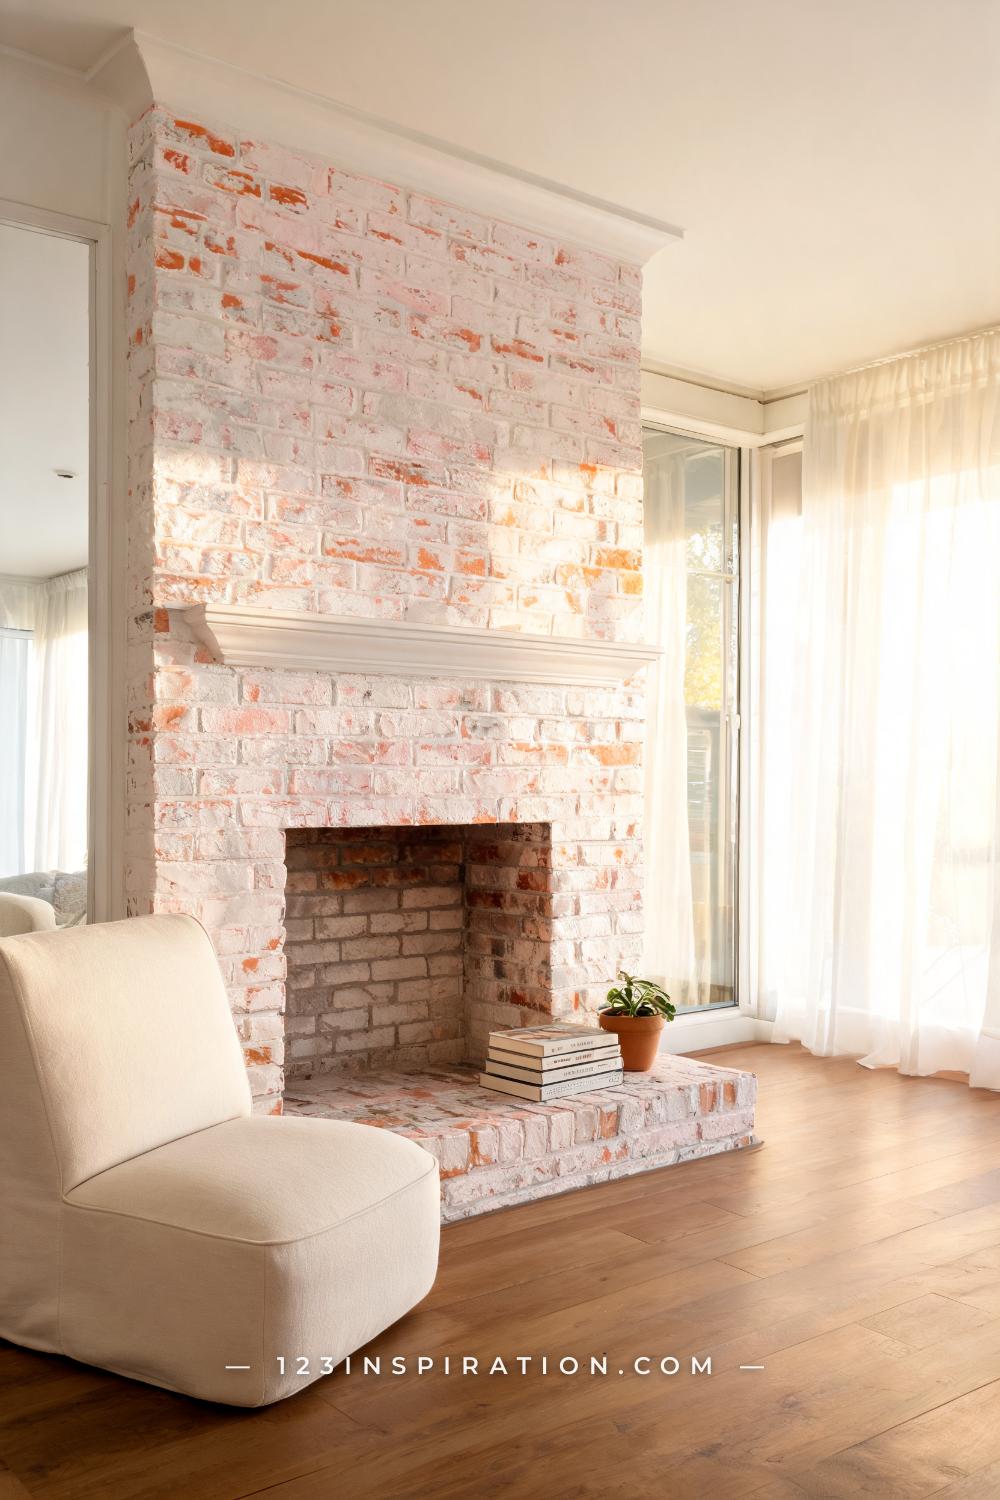
Whitewashing is a simplified version of limewash that uses diluted standard latex paint instead of a lime-based product — typically a 1:1 mix of white paint and water for brick, or a 2:1 paint-to-water ratio for wood. The result is a translucent white veil that softens the underlying surface while leaving its natural texture and variation visible.
It is the ideal technique for brick fireplaces, exposed brick walls, and raw wood furniture when you want to brighten the surface without completely covering its natural character. Whitewashing is more forgiving than limewash (you can add more water to lighten the wash, or apply a second coat to build opacity), and it costs almost nothing if you already have white paint on hand. The one limitation: whitewashing on brick is very difficult to reverse once applied, so test a small section first and live with it for a day before committing to the full fireplace.
Key Takeaway: Whitewashing is the most accessible way to lighten brick or raw wood without losing its natural texture — test in an inconspicuous spot before committing to the full surface.
Aged Glaze Finish: The Trick for Giving New Cabinetry Old-World Character
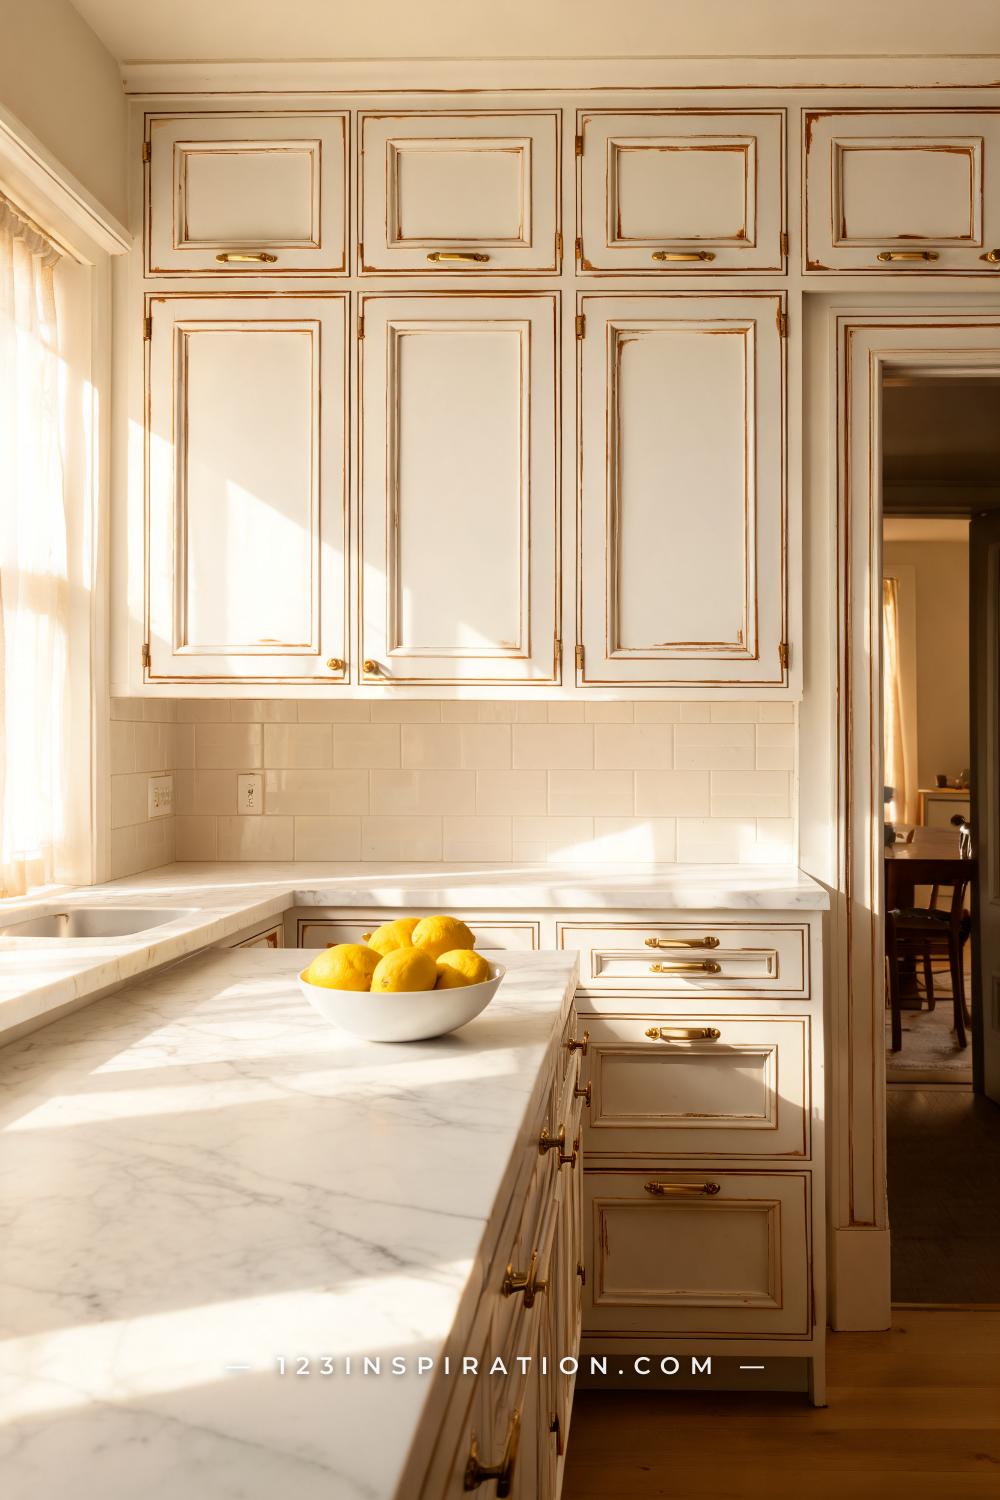
Aging glaze — sometimes called antiquing glaze — is a semi-transparent tinted product that is painted over sealed, already-finished cabinetry or furniture, worked into the recesses with a brush, and then wiped from the raised surfaces. The glaze deposits in grooves, corners, and panel edges, leaving a dark shadow in exactly the places where real age and grime would accumulate — which is what makes it convincingly authentic.
This technique is ideal for raised-panel cabinet doors, furniture with carved details, or decorative molding on mantels. It is particularly effective on white or cream cabinetry that feels too stark and clean — a warm umber or raw sienna glaze adds immediate depth. Varathane Antique Glaze and General Finishes Glaze Effects are two consistently well-reviewed products. The key technique note: work in small sections, and always wipe the raised surfaces while the glaze is still wet. Once it dries, it is permanent and very difficult to adjust.
Key Takeaway: Aging glaze is the fastest way to make new cabinetry look like it has been in the house for fifty years — work section by section and wipe quickly for the most controlled result.
How to Choose the Right Technique for Your Room
Choosing between these techniques is simpler than it looks once you match the finish to three variables: the surface you are working on, the room’s existing color palette, and your honest skill level. Here is a fast decision framework: if the surface is a large painted wall, limewash or color washing will deliver the most impact with the least risk. If you are working on furniture or cabinetry with texture or carved detail, milk paint, aging glaze, or dry brushing will give you the most authentic aged result. If your surface is brick or raw wood that you want to lighten without covering, whitewashing is the right call. And if you want a single statement wall at the highest level of sophistication and you have the budget, Venetian plaster is in a category of its own.
Do not try to apply every technique in the same room. Choose one primary surface finish — usually the walls — and one secondary finish — usually a piece of furniture or architectural detail — and let those two carry the aged quality of the space. The restraint is what makes it look intentional.
Key Takeaway: Match technique to surface and palette first, then skill level — and limit each room to one wall technique and one furniture technique to keep the result looking curated rather than chaotic.
Rustic paint finishes reward one thing above everything else: patience in the preparation. The wall that looks effortlessly aged in a design photo was almost certainly cleaned, primed correctly, and tested in a small section before the full application. Pick the technique that matches your surface and your honest comfort level, buy a small quantity to test on a piece of cardboard or an inconspicuous corner first, and give yourself the time to work in sections. The imperfection is the point — and unlike most DIY projects, these finishes actually get better the more relaxed your hand becomes.