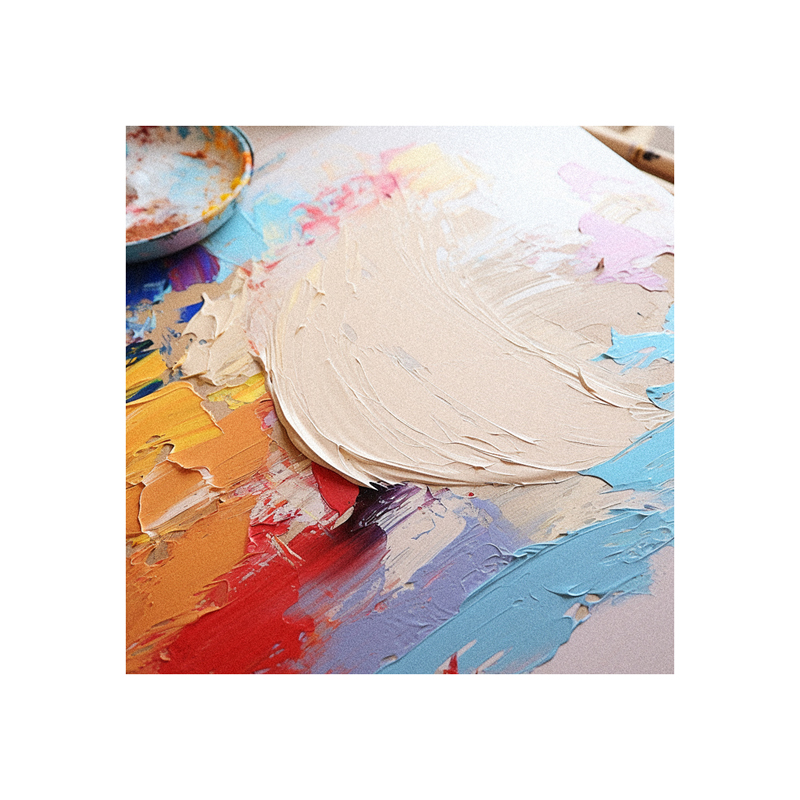
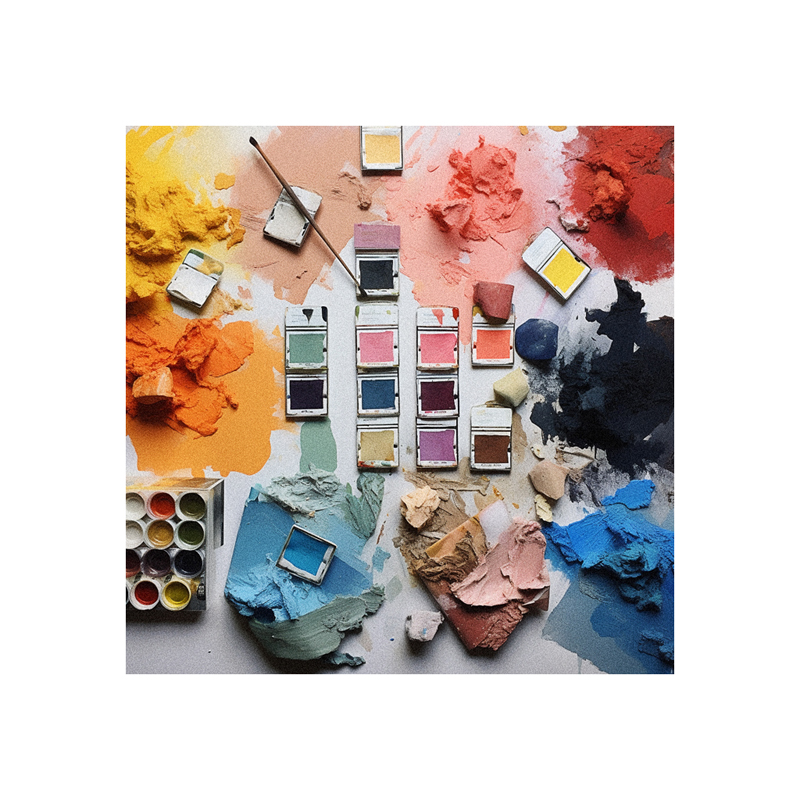
Mixing a wide spectrum of colors simply from primary pigments is an essential skill for painters. Using just five tubes of paint – red, blue, yellow, white and black – opens endless options. This guide will walk you through mastering primary color mixing. You’ll learn how to blend vibrant secondary hues, modify with complements, control values, and more. Follow these techniques to mix precise shades for visually stunning paintings using a highly affordable limited palette.
Step 1 – Select Your Primary Pigments
Begin by choosing quality primary paints. While many “red”, “blue” and “yellow” pigments exist, consider these ideal options:
Red - Cadmium Red or Pyrrole Red (Cd-free alternative)
Blue - Phthalo or Ultramarine Blue
Yellow - Cadmium Yellow or Hansa Yellow (Cd-free alternative)
Avoid novelty “primary” colors. Stick to pure hues. Student grades work, but artist quality pigments mix better.
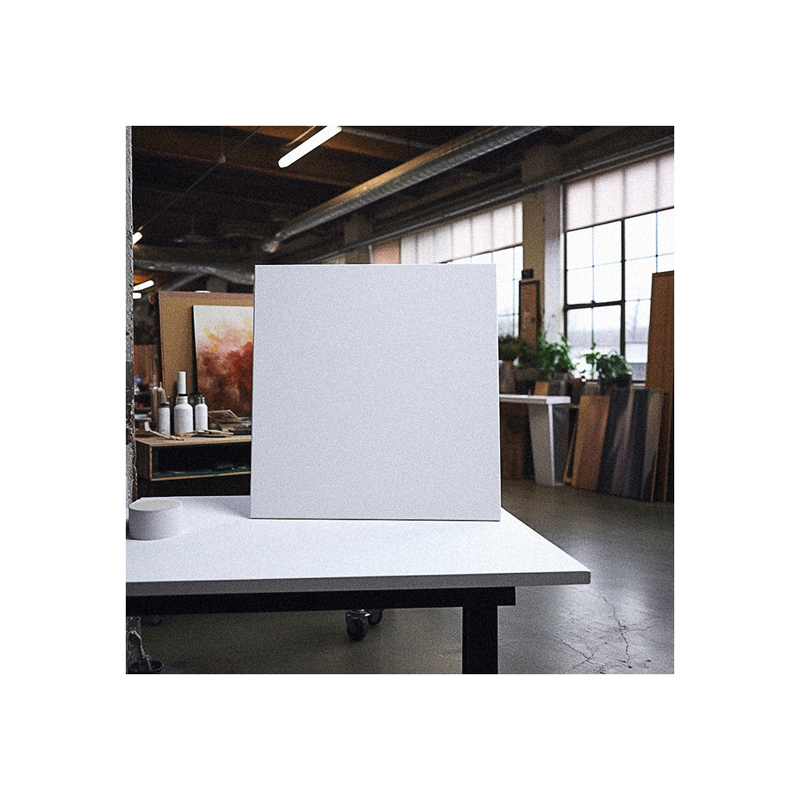
Step 2 – Add Black, White and Canvases
Now complete your palette with:
Titanium White - Lightens and tints
Ivory or Mars Black - Darkens and shades
Canvases or pads - For test mixing before painting
Keep white and black in separate corners to prevent muddiness. Always remix paints before starting.
Step 3 – Mix Secondary and Tertiary Hues
Combining two primaries yields secondary colors:
Red + Blue = Violet
Red + Yellow = Orange
Blue + Yellow = Green
Mixing all three primaries together produces rich tertiary browns and grays.
Experiment with different rations. More yellow makes a brighter green, more red yields a warmer brown.
Step 4 – Understand Color Properties
Primary pigments have unique characteristics:
Reds - Warm, opaque, staining
Blues - Cool, transparent
Yellows - Warm, opaque
This informs mixing. Transparent like phthalo blue tint more than opaque cadmium red.
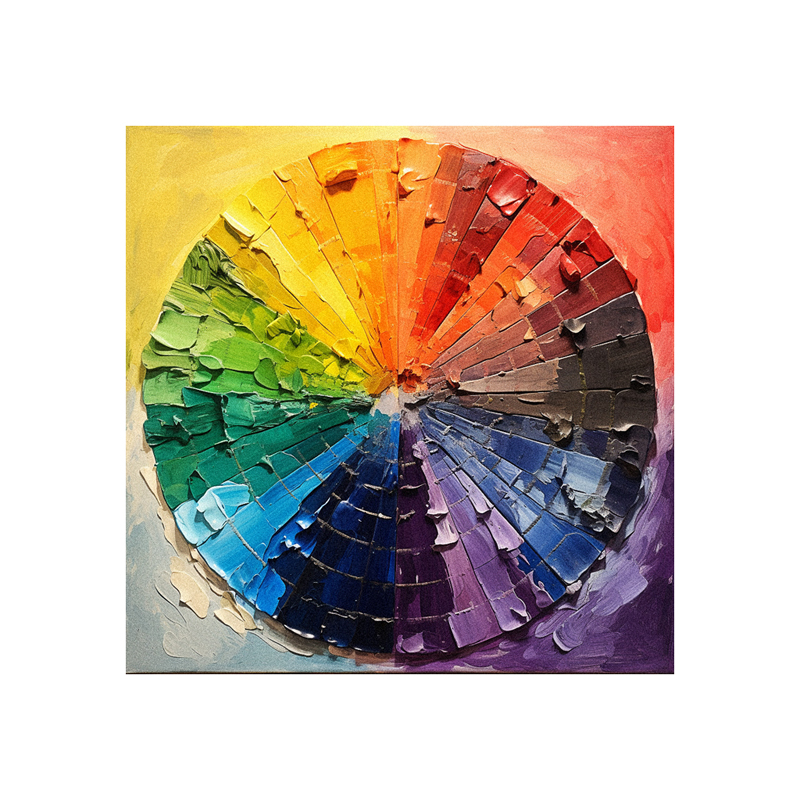
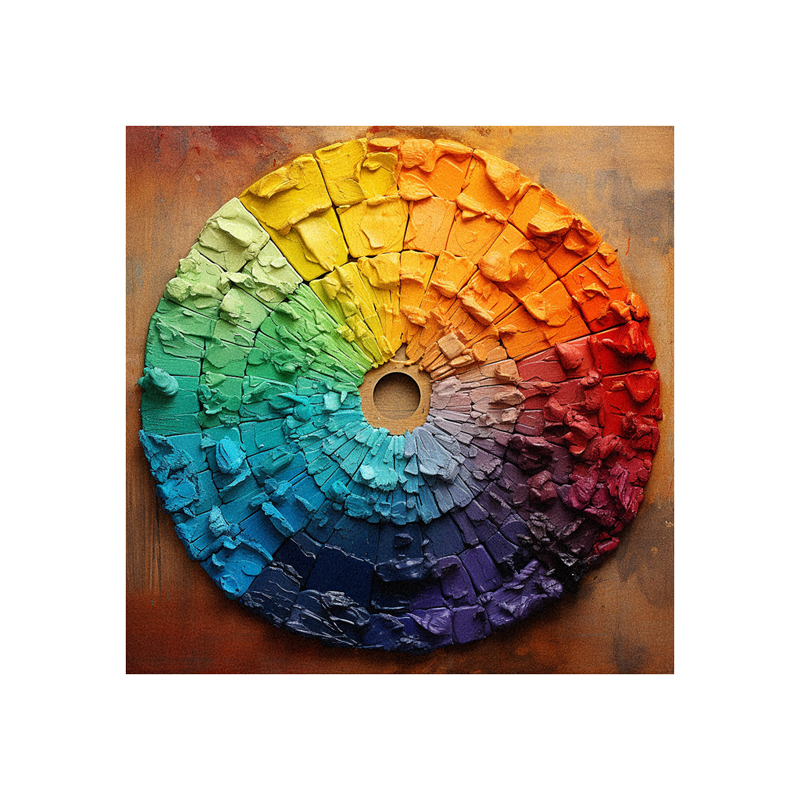
Step 5 – Use Complements
Complementary colors (opposites on the color wheel) neutralize and naturalize hues.
Green + Red = Muted, earthy green
Orange + Blue = Nuanced skin tone
Add small amounts of complements. A touch of blue naturalizes an overly vibrant orange.
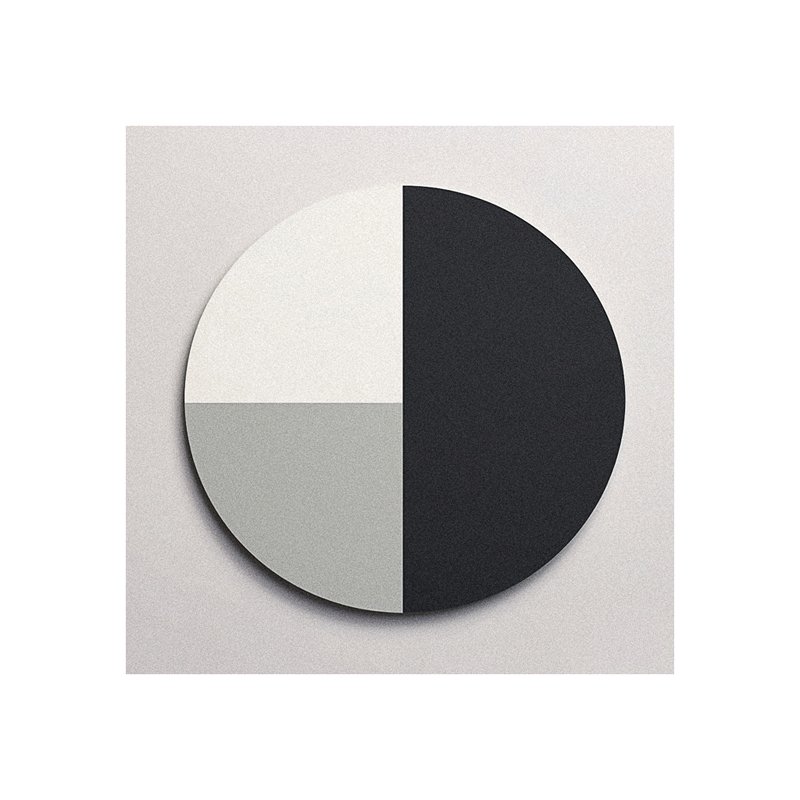
Step 6 – Map Values Before Mixing
Determine value structure before mixing colors. Squint at your reference to simplify lights and darks.
Block in values with paint or charcoal first. This ensures proper value contrast before applying color.
Step 7 – Mix Darks First
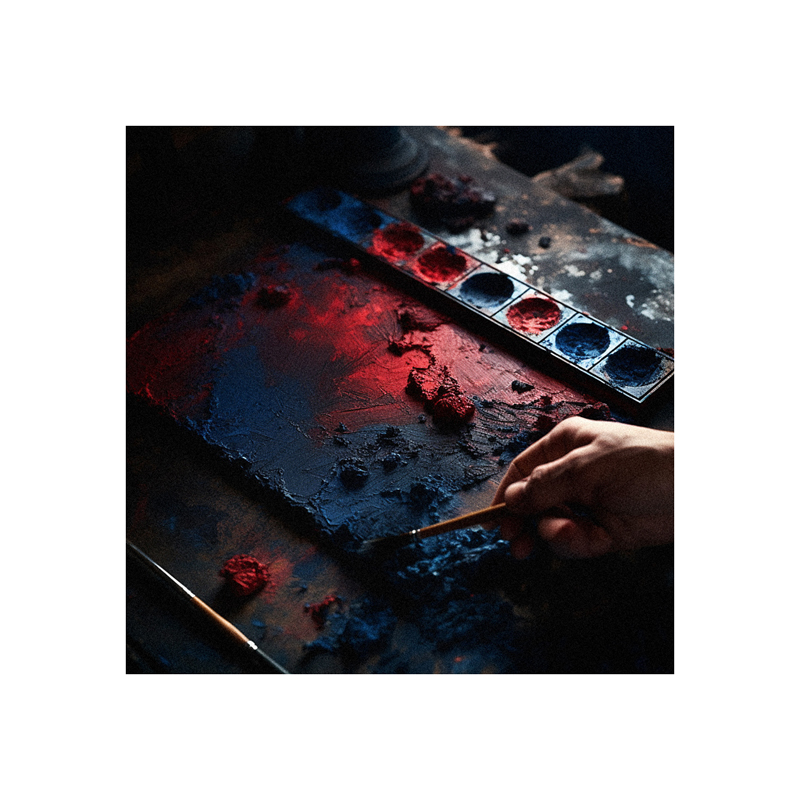
It’s easier to lighten than to darken. Start mixing with dark pigments like blues and reds, slowly adding white to lighten.
Mix ample paint for darks and midtones before adding white. Remix customized colors as needed.
Step 8 – Add White Last
Mix white in gradually to avoid over-lightening colors. Add small amounts and thoroughly blend after each addition.
Closely observe your reference. How light is that blue compared to the original blue mix?
Step 9 – Include Black and Gray Sparingly
Rely on pure pigment mixing instead of black and gray. But small amounts of black can shade, and gray can mute colors.
Add black in very small increments – a little goes a long way. Too much overpowers color.
Step 10 – Check Temperature
Analyze if colors are warm or cool and adjust temperature for realism:
Warm - Red, orange, yellow
Cool - Blue, green, violet
Even a tiny dab of an opposite temperature color subtly neutralizes intensity.
Tips for Successful Primary Mixing
Start with small mixes until you gauge pigment strength
Use grayscale value plans to guide color mixing
Mix on white surfaces to better see undertones
Remix customized colors frequently for consistency
Add paint in small increments to prevent muddiness
FAQ
How do I avoid muddy color mixing?
Use a light touch when combining paints. Thoroughly mix in small amounts, starting with just two colors. Build transparency through multiple glazed layers.
What if I can’t match a specific color?
Analyze the color properties like temperature and transparency. Observe how the elusive color behavescontextually. Then tweak your mix with strategically added complements, tinting, or shading.
Should I buy student or artist-grade primary paints?
Artist quality contains more pure pigment. This allows truer mixing and glazing. Student grades are more affordable but limit mixing potential.
Conclusion
Mastering primary color mixing elevates your artistic abilities while saving money on paints. But be patient – these techniques require substantial practice. Analyze your mixes and continue refining. Soon, you’ll instinctually know how to blend any desired color with just five versatile tubes.