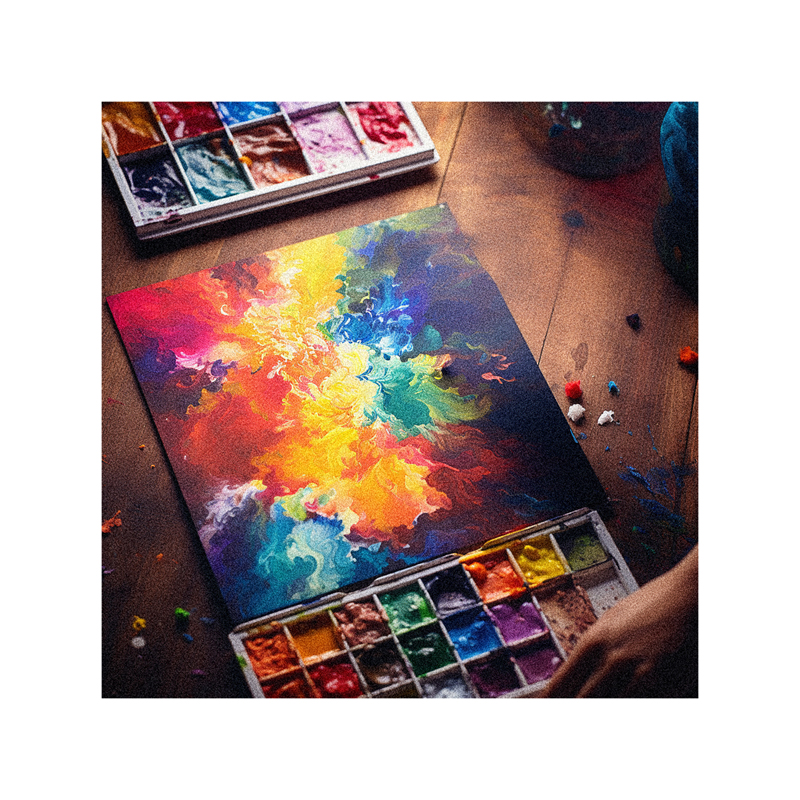
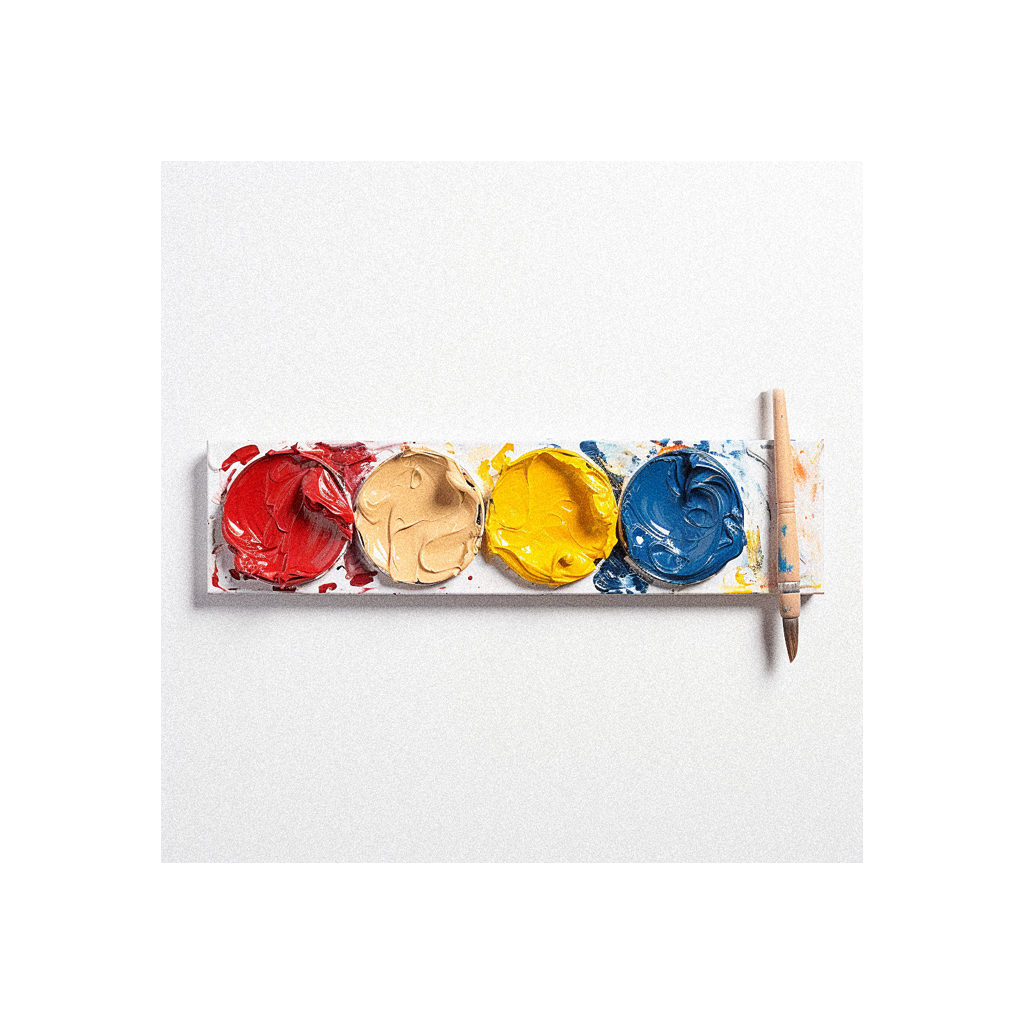
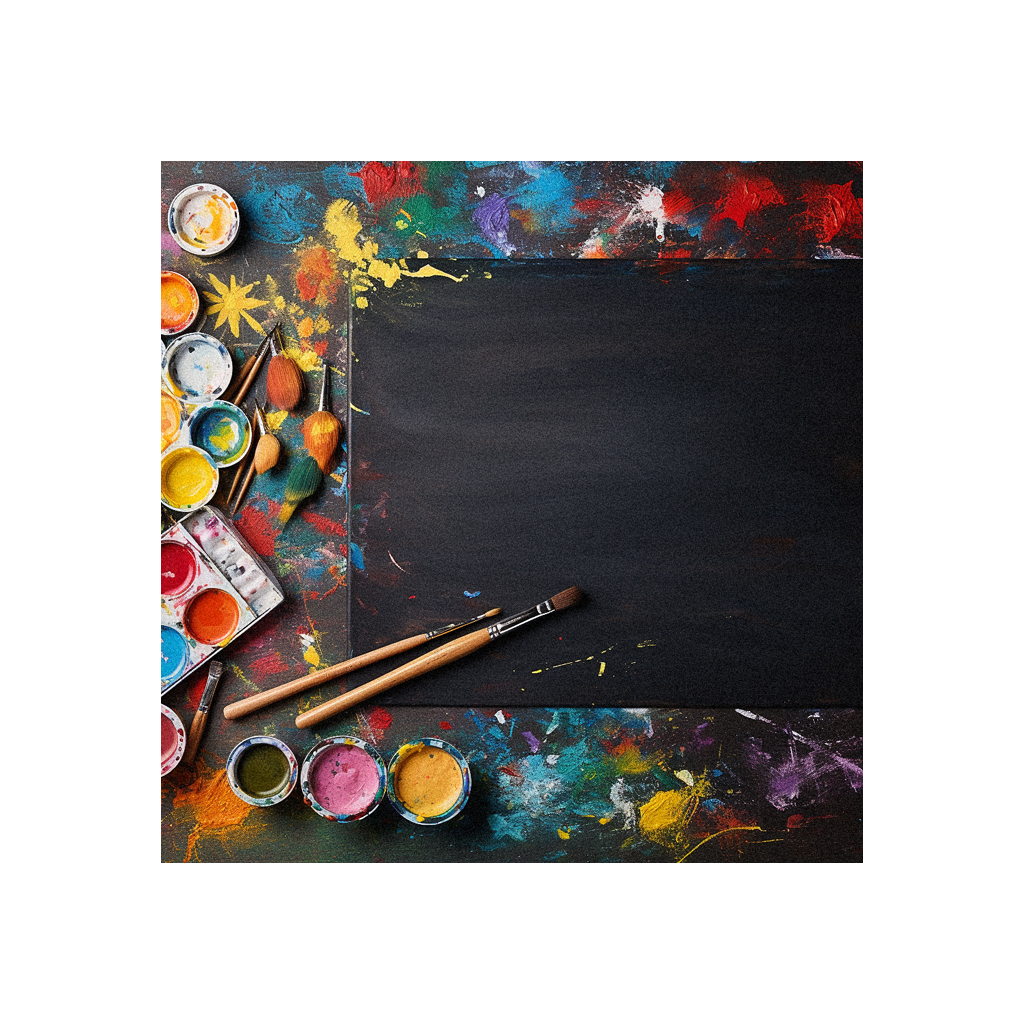
Learning how to expertly mix colors is an essential yet often overlooked skill for painters. Buying pre-mixed paints can get very expensive, and you’ll be limited in the range of hues you can work with. By mastering color theory and blending techniques, you can unlock your full creative potential and mix any imaginable color with just a few tubes of primary paints.
In this in-depth guide, you’ll learn the core principles of color theory, get recommendations for must-have primary paints, and follow step-by-step instructions for mixing vibrant secondary colors, earthy neutrals, and everything in between. With a little practice, you’ll be expertly blending colors to create dynamic, professional-quality paintings.
- Understanding the Basics of Color Theory
- Choosing Your Primary Paint Pigments
- Mixing Vibrant Secondary Colors
- Creating Neutral Tones and Earthy Shades
- Modifying Hues with White, Black and Gray
- Tips for Successful Color Mixing
- Avoiding Muddy Colors
- Advanced Mixing Techniques
- Mastering Color Mixing: Final Thoughts
Understanding the Basics of Color Theory
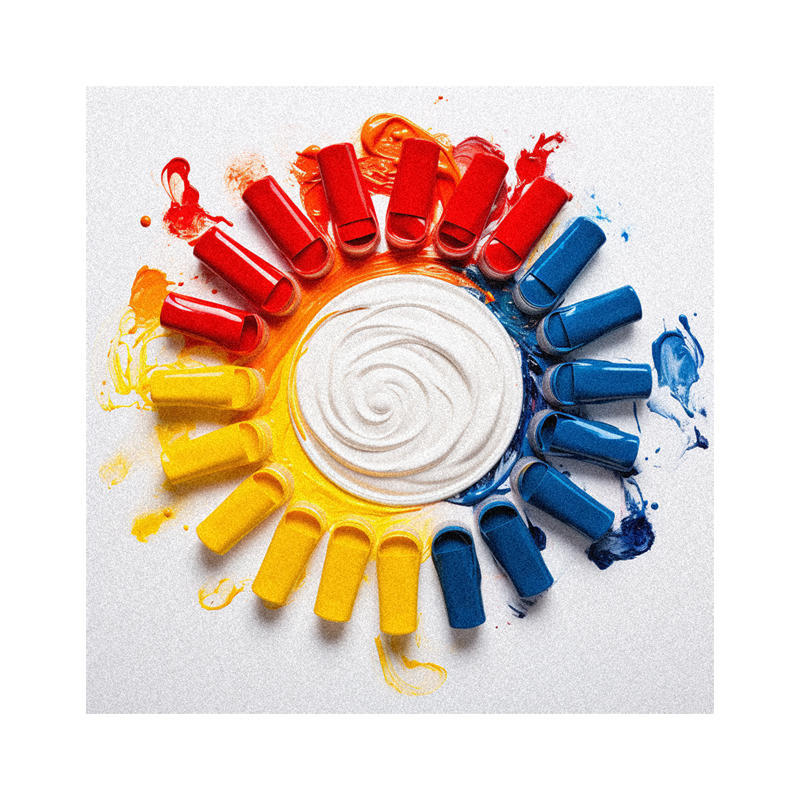
Before diving into the art of mixing, it’s important to understand the basics of color theory. This will give you the foundation for blending colors effectively. The primary colors are red, yellow, and blue. By mixing the primaries together, you can create the secondary colors:
- Red + Yellow = Orange
- Yellow + Blue = Green
- Blue + Red = Purple
You can then take these secondary colors and mix them together to form tertiary colors – like red-orange, yellow-green, blue-violet, etc. The more paints you blend together, the more muted and neutralized the resulting color will become. Mixing equal parts of all three primary colors results in a black or gray tone.
There are also warm and cool versions of each primary:
- Warm colors like red, yellow and blue contain more yellow and appear brighter.
- Cool versions contain more blue and appear more muted.
Mixing warm and cool primaries results in secondary colors with different temperatures – an orange made from warm red and yellow will be much more vibrant than one mixed from alizarin crimson and lemon yellow.
Understanding these color relationships is key to mixing the hues you intend. With practice observing how primaries interact, you’ll be able to blend the exact shade you want.
Choosing Your Primary Paint Pigments
There are many different pigments used to make red, yellow and blue paints. The specific primary colors you choose will greatly affect the look of your mixed secondary and tertiary colors. Here are some tips for selecting primary paints:
Reds
- Warm: Cadmium red, vermillion
- Cool: Alizarin crimson, rose madder
Yellows
- Warm: Cadmium yellow, yellow ochre
- Cool: Lemon yellow, hansa yellow
Blues
- Warm: French ultramarine
- Cool: Cerulean, phthalo blue, Prussian blue
For the most flexibility, aim to have at least one warm and one cool version of each primary color in your selection. Avoid “student grade” paint sets with primaries heavily biased toward one temperature.
Having multiple varieties of each primary will give you endless options for mixing. For example, combining:
- Cool red + warm yellow = vibrant orange
- Warm red + cool yellow = muted terra-cotta
With a balanced primary palette, you’ll be able to mix any secondary or tertiary hue under the sun!
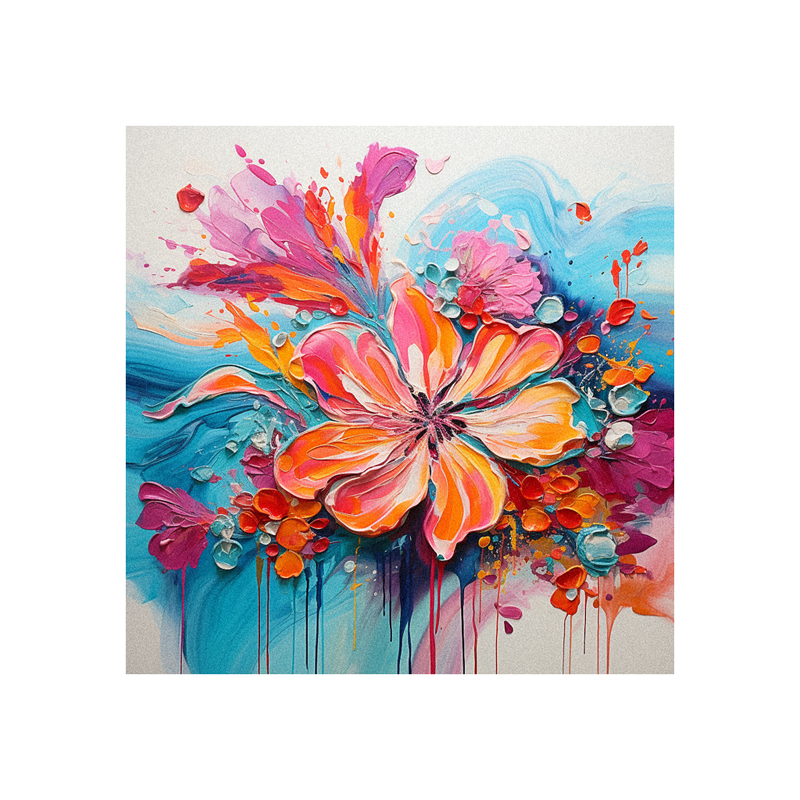
Mixing Vibrant Secondary Colors
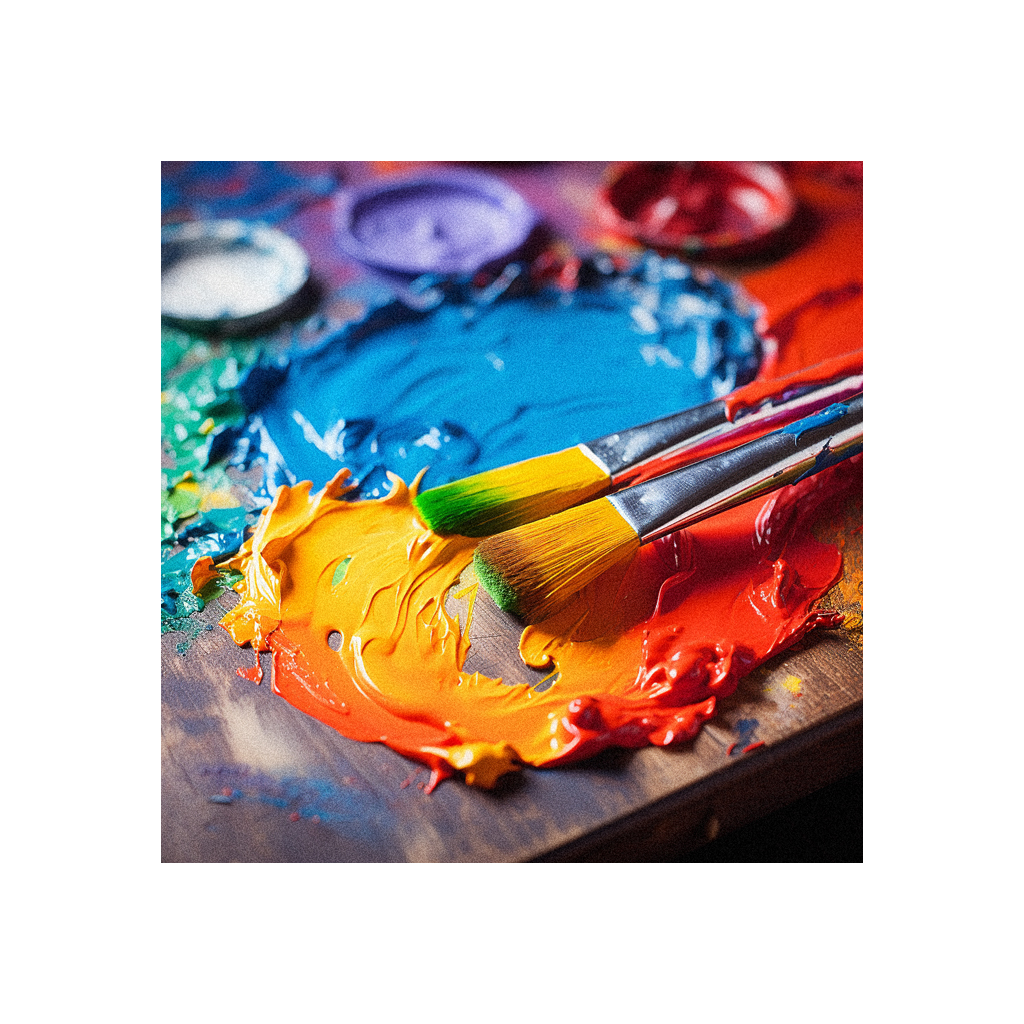
Once you have your primary paints selected, the fun begins! Start experimenting by mixing your primaries to form bright secondary hues.
Mixing warm and cool versions of colors like red and yellow will create different shades of orange, green or violet. Some combinations to try:
- Cadmium red + cadmium yellow = pure orange
- Alizarin + lemon yellow = coral
- French ultramarine + cadmium yellow = green with a blue bias
- Cerulean + vermillion = violet skewing blue
When mixing colors, the more of one pigment you use, the more saturated the resulting color will be. Adding more water dilutes the vibrancy. Some tips:
- Use a roughly equal ratio for pure secondary colors
- Bias toward one primary for lighter, desaturated shades
- Add small amounts of water to dilute and lighten hues
Start noting the combinations that create your favorite shades. With practice, you’ll be able to expertly mix any secondary color in your imagination.
Creating Neutral Tones and Earthy Shades
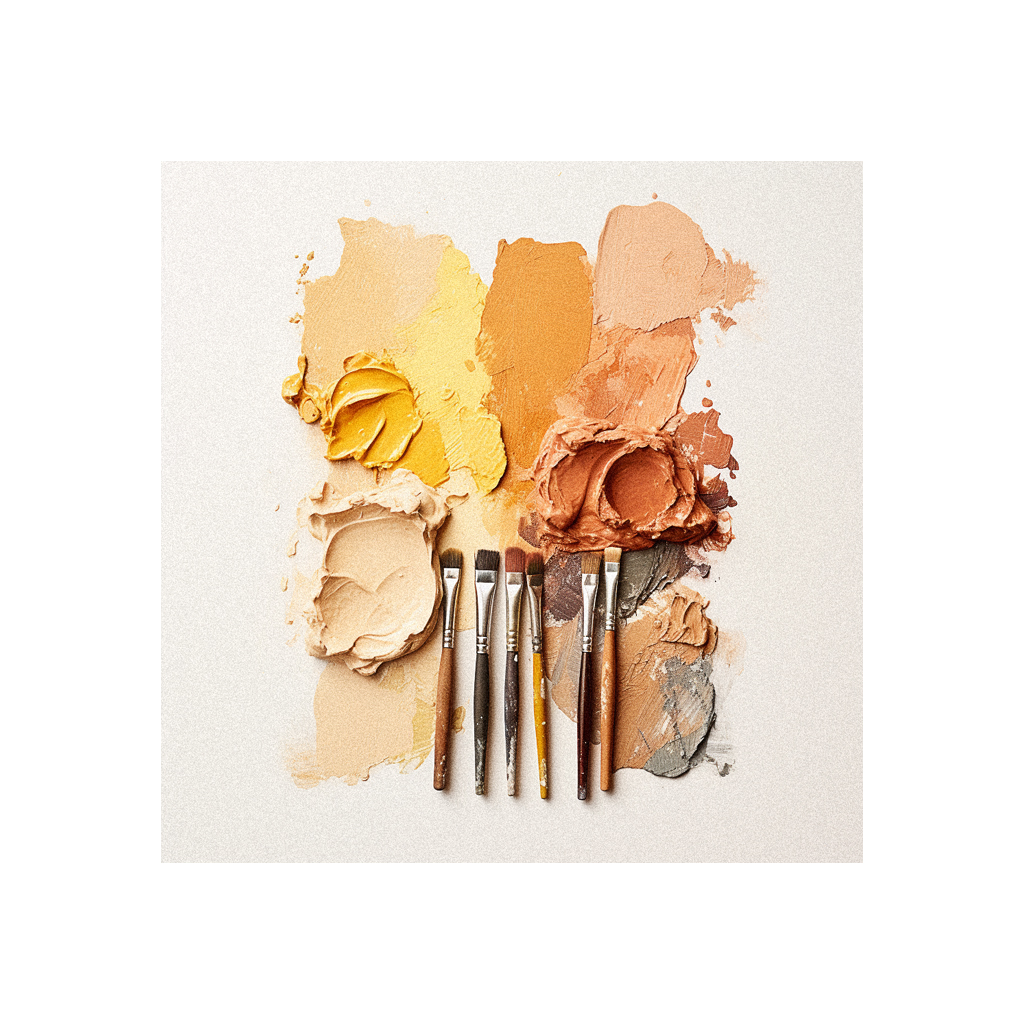
In addition to pure, vibrant colors, you’ll also want to mix neutral earth tones, shades of brown, beige and gray. These muted colors are perfect for backgrounds, underpaintings and adding natural variation.
The key is to mix complementary colors together to neutralize intensity. Try adding small amounts of the opposite color to dull a vivid primary or secondary hue:
- Mix red into green to tone it down into an earthy olive
- Add touches of green to red to create a burnt, reddish brown
- Introduce blue into orange to make beige or tan
- Mix a little orange into blue for a weathered, grayed teal
You can also darken colors by mixing in their opposite. Adding tiny amounts of blue to orange makes a deeper, more neutral shade.
Don’t be afraid to experiment and play with mixing complements. Keep track of combinations you like for future earthy blends.
Modifying Hues with White, Black and Gray
In addition to primary colors, it’s useful to have white, black, and gray paints on hand for modifying mixed hues. But use a light, subtle approach, as adding too much neutral tone can make colors dull and muddy.
- Add white to lighten without losing vibrancy
- Mix in gray to subtly dull brightness
- Use black to darken or create muted earth tones
Black can also be mixed with primaries to create rich secondary colors like burgundy, forest green or navy blue. Always add black sparingly to prevent over-darkening.
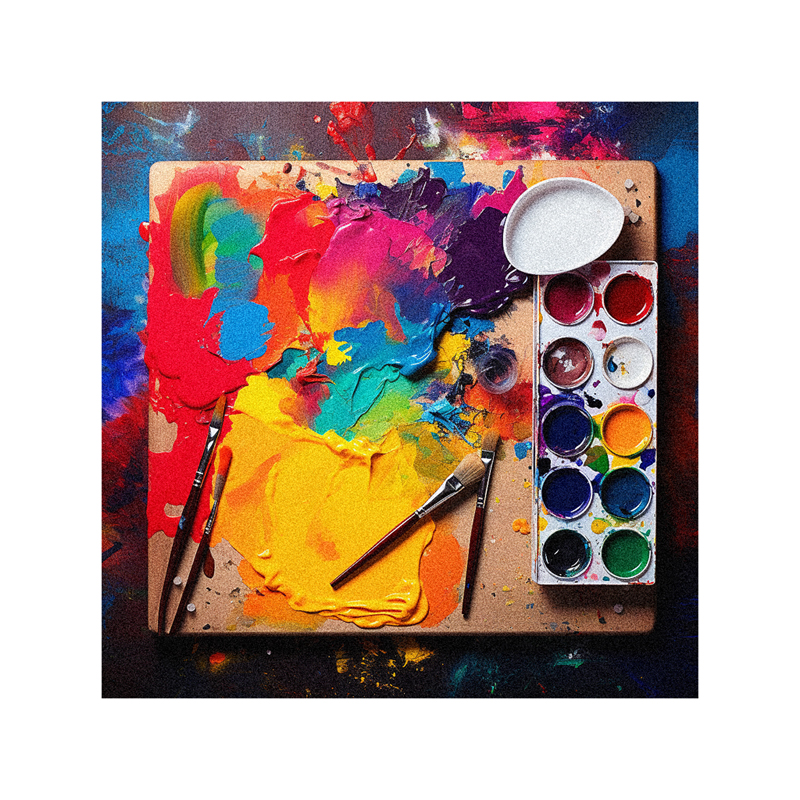
Tips for Successful Color Mixing
- Use a white, porcelain or glass palette for mixing – colored surfaces may distort hues
- Mix enough paint to properly gauge the color – tiny amounts won’t blend well
- Add colors gradually and observe changes – you can always adjust
- Take notes! Jot down combinations you like for future reference
- Allow test swatches to dry before assessing the final mixed color
With practice, you’ll know at a glance how to mix any desired shade. Don’t be afraid to experiment until you achieve the perfect hue.
Avoiding Muddy Colors

When learning to mix paints, you may occasionally end up with a muddy, dull color. This happens when too many pigments are blended together without a dominant hue. Avoid muddiness by:
- Keeping a ratio of one dominant primary
- Adding smaller amounts of the other two primaries
- Not over-mixing colors
- Using gray or black sparingly
Test small amounts first, and add more paint if needed to avoid over-mixing.
Advanced Mixing Techniques
Once you’ve mastered the basics, try out these advanced techniques for even more control:
Layering
Apply multiple glazes of mixed colors for depth. For example, first paint a sky blue, then layer mixtures of blue + yellow and blue + white on top for dimension.
Split Complementary Mixing
Choose one primary, then add small amounts of its two complementary colors adjacent on the color wheel. This maintains vibrancy.
Neutral Underpainting
Start with an underpainting in gray, brown, or beige to subtly influence the colors on top.
Optical Mixing
Place small brushstrokes of pure colors next to each other and allow the viewer’s eye to mix them. This keeps colors vibrant.
Don’t be afraid to get creative and push your mixing skills to the next level!
Mastering Color Mixing: Final Thoughts
Learning to successfully blend primary paints into any imaginable secondary or tertiary hue is an invaluable yet attainable skill with huge payoffs for your artwork. Start by understanding color theory, choosing balanced primaries, and experimenting with mixing vibrant and neutral shades. Observe how color relationships change depending on temperature and ratio. Make notes on your favorite combinations. Before long, you’ll have a intuitive sense for blending beautiful colors.
The next time you sit down to paint a landscape, portrait, or still life, you’ll be able to mix up any color you can envision to bring your creation to life. So grab those primary paints and start honing your mixing expertise today!