Mastering precise, vibrant color mixing is an essential yet challenging artistic skill. Learning color theory principles and implementing proven techniques will enable you to intuitively blend accurate, nuanced hues for your paintings. This comprehensive guide will provide key methods to advance your color mixing proficiency.
We will cover investing in foundational color tools, isolating reference colors, properly mixing pigments, understanding inter-hue interactions, strategically applying complements, controlling color temperature, and diligently honing intuition through practice. Follow these tips to gain confidence effortlessly mixing any desired shade. With dedication to these techniques, you will be able to realistically capture the world on canvas.
- Step 1 – Invest in a Comprehensive Color Wheel
- Step 2 – Isolate Color Patches for Matching
- Step 3 – Mix and Test Colors on Clear Plastic Wrap
- Step 4 – Master Pigment Qualities and Mixing Behaviors
- Step 6 – Add White Sparingly and Gradually
- Step 7 – Neutralize with Complementary Colors
- Step 8 – Check and Adjust Color Temperature as Needed
- Step 9 – Continuously Analyze and Refine Mixes
- Step 10 – Practice Diligently to Develop Intuition
- Tips for Success
- FAQ
- Conclusion
Step 1 – Invest in a Comprehensive Color Wheel
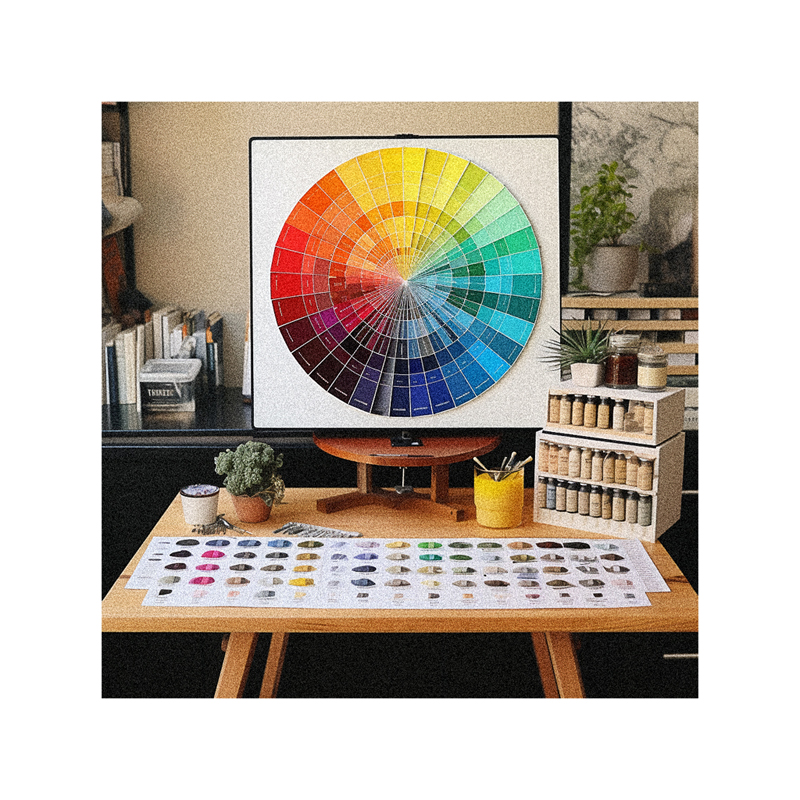
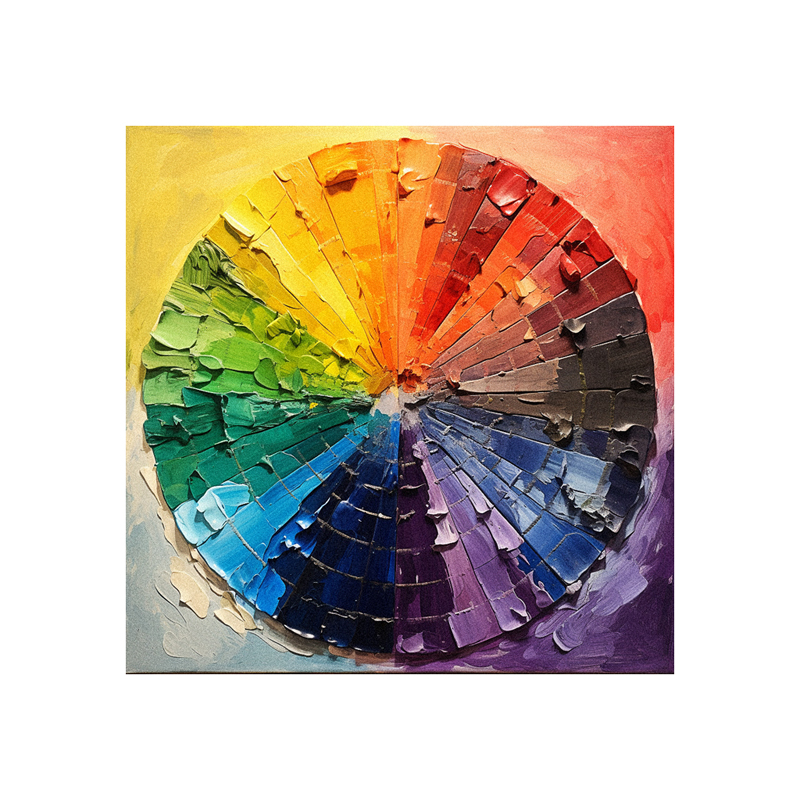
While requiring an upfront investment, purchasing a high-quality color wheel is extremely worthwhile for accelerating mixing skill. Look for an option that clearly displays primary, secondary, and tertiary colors plus their relationships. The Color Wheel Company makes excellent, affordable wheels for artists.
Ideally the wheel will showcase:
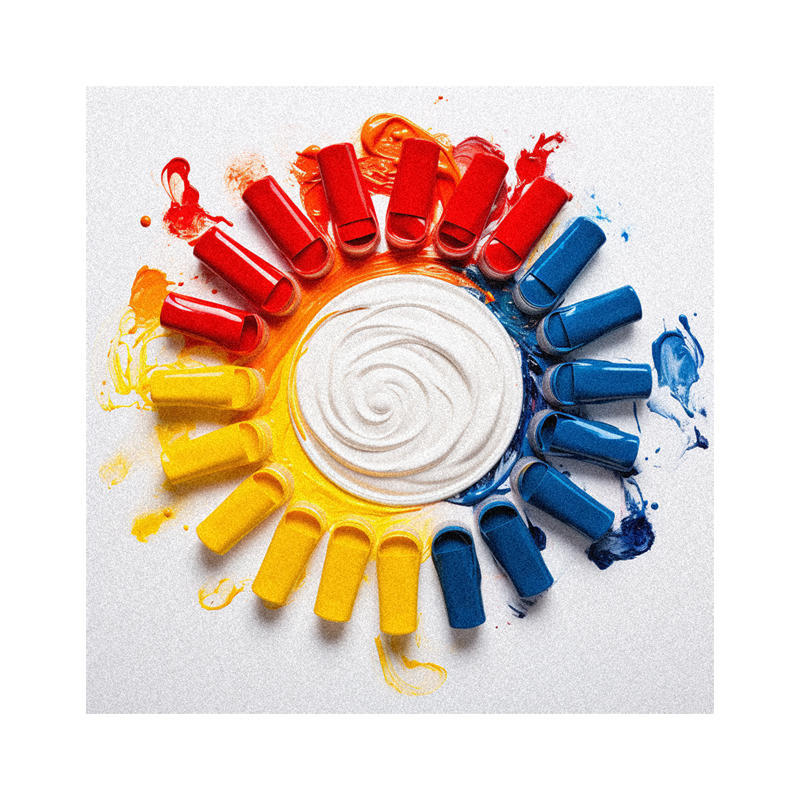
- Primaries – Red, blue, yellow
- Secondaries – Green, orange, purple
- Intermediates – Red-violet, yellow-green, etc.
- Complements – Diametric opposite hues
Quality color wheels demonstrate paint mixing possibilities by illustrating blending overlap of adjacent colors. They also allow easy comparison of warm and cool ranges. A hole cutout reveals underlying swatches, showing paint lightening.
Having this color theory reference enables you to visualize key hue relationships at a glance. It provides a blueprint for pigment blending experiments. The portability also allows keeping it nearby for quick guidance while painting. Investing in this essential tool will accelerate your color-mixing skill gains.
Step 2 – Isolate Color Patches for Matching
Targeted “color spotting” means carefully analyzing and isolating specific color patches from your visual reference. This technique enables training your brain to recognize subtle hue differences and accurately replicate them in paint mixes.
To spot colors:
- Use a painting knife hole to focus on tiny areas of color and block out surrounding hues.
- A paper hole punch can isolate circular color swatches in a photo.
- Cut paper or card into squares to frame color spots.
Select an area of intricate color in your reference that requires an exact match. Spot and isolate it with your tool. Then, thoroughly mix while directly comparing your blend to the isolated color patch. Continuously tweak the mix until your swatch is a precise match.
This challenges you to hone vital observation skills while mastering reproducing any color. Regular spotting practice drills color precision and improves memorization.
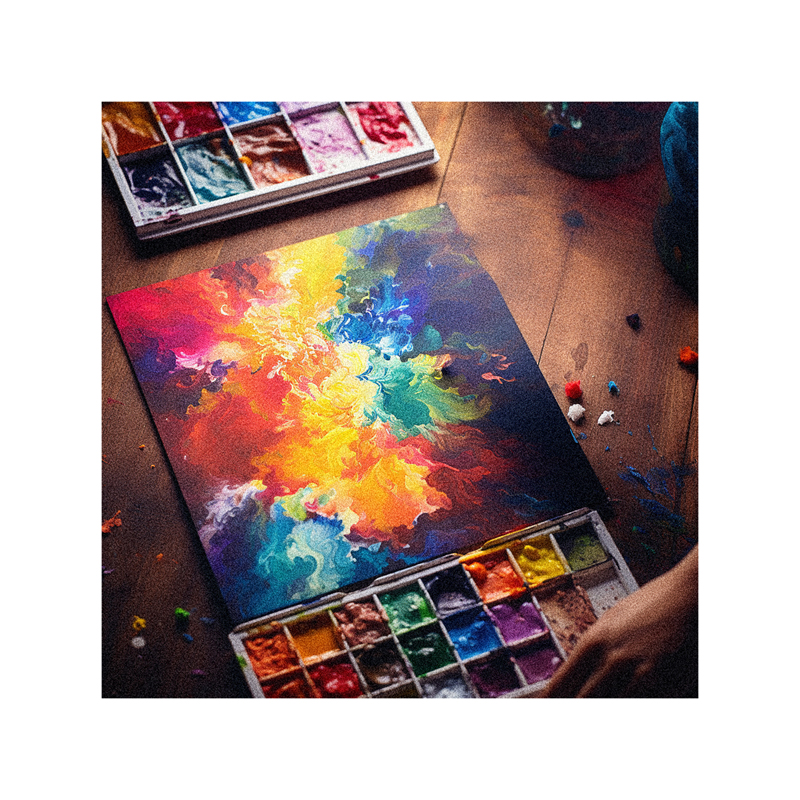
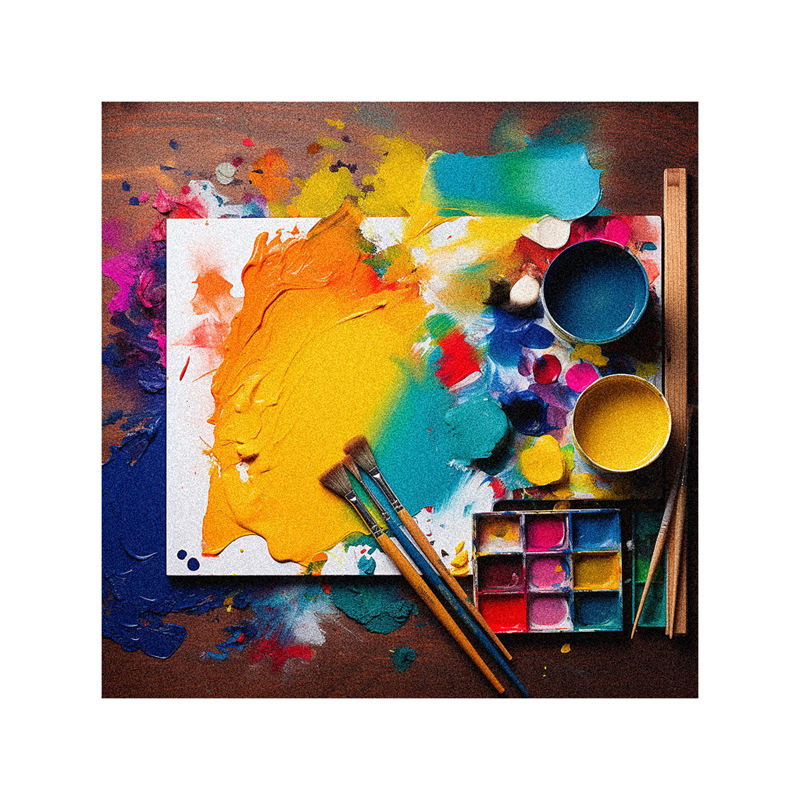
Step 3 – Mix and Test Colors on Clear Plastic Wrap
When painting from photographs, it can be difficult to match colors exactly since photos rarely capture true hues. A clever trick is to wrap your photo reference in clear cling wrap or plastic.
Then, mix test swatches of paint colors directly on the plastic above the correlated areas. The transparent plastic provides a distortion-free surface to gauge colors, unlike photos. This guarantees you mix the true colors before applying them to canvas.
Check your blended test color against the wrapped photo section underneath. If squinting merges the paint swatch and photograph spot, their colors match accurately. You can then confidently reproduce that precise hue for painting. This facilitates correct mixing when using flawed photo references.
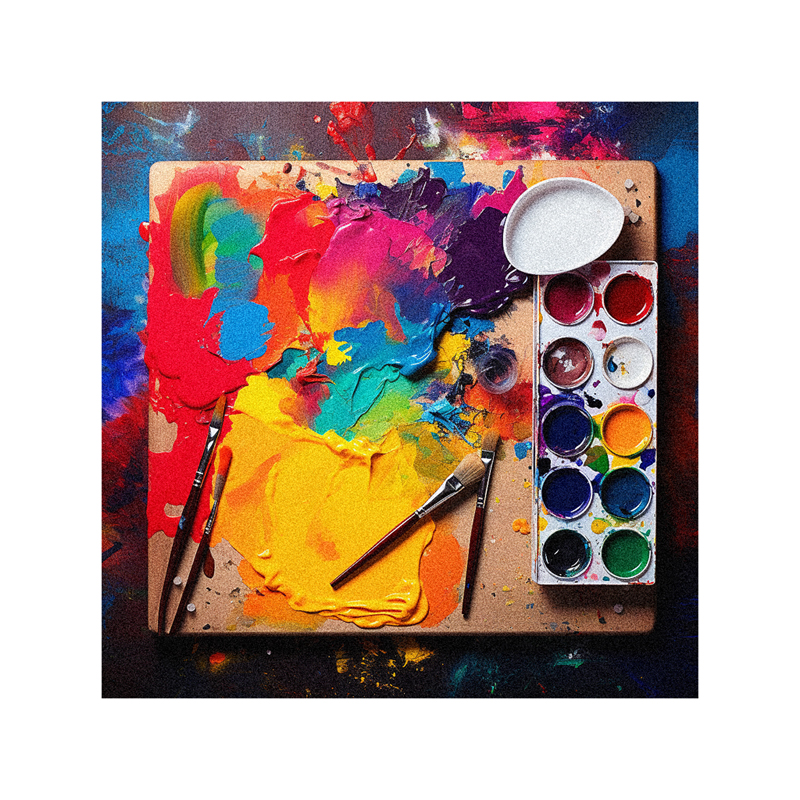
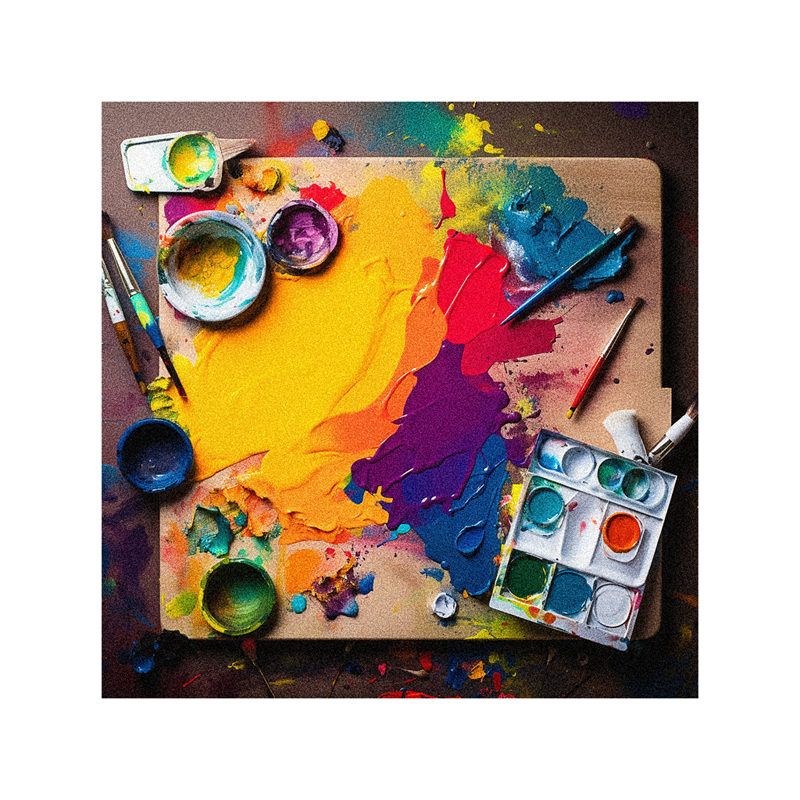
Step 4 – Master Pigment Qualities and Mixing Behaviors
Not all paint pigments blend equally or exhibit the same working properties. It is crucial to understand the key characteristics of your palette:
- Transparency – Thin layers allow underlayers to show through, great for glazing
- Opacity – Blocks and covers other paint layers
- Staining – Sinks in and stains canvas, hard to paint over
- Sedimentary – Heavier particles settle when mixed, requiring remixing
- Tinting – Mixes “lighten” easily with white additions
- Masking – Dominates mixes with other colors
Thoroughly test color combinations to learn ideal mixing ratios and interactions. For example, transparent glazing mediums like phthalo blue tint well when lightened with white. Heavy opaque pigments like cadmium red can potentially overpower and mask more delicate mixing.
Step 5 – Begin Color Mixes with Darks First
When starting any new color blend, initiate mixing with the darkest shade first. Darker pigments like ultramarine blue and alizarin crimson combine easily into deep hues. Then slowly integrate white to lighten the dark base toward your target midtone or light shade.
This “dark to light” approach prevents the common mistake of over-lightening fragile colors. It is far simpler to cautiously lighten a dark vivid mix than attempt darkening a pure light color.
Be sure to mix ample paint quantities of your darks, shadows, and midtones before integrating any white. Then, remix customized colors frequently for consistency when painting.
Step 6 – Add White Sparingly and Gradually
When lightening colors, introduce white in very small increments. Add minimal amounts using the tip of your brush or knife edge and thoroughly incorporate it into the mix. Check against your reference, then add another tiny white amount as needed.
Avoid over-lightening by recklessly dumping in white. This ruins carefully blended colors. Remember, you can always add more white, but removing excess white is difficult. Incremental additions give you great control.
Cross-reference paint additions frequently with your color spot or photo to match values precisely. Pursue the perfect tone with patience, not haste.
Step 7 – Neutralize with Complementary Colors
In nature, no color exists in isolation. Intelligently integrating complementary colors into a mix neutralizes intensities and harmonizes hues into natural, muted versions.
Complementary colors are opposite each other on the color wheel. Strategically adding small touches of complements to colors needing toned down adds realism. For example, mixing a miniscule amount of blue into an overly-vibrant orange subdues it into a more natural, desaturated coral.
Analyze the color relationship and selective utilize this technique. Complementary neutralization can impart a nuanced, lifelike quality difficult to achieve otherwise.
Step 8 – Check and Adjust Color Temperature as Needed

While assessing a mix, also analyze whether it appears warm or cool in temperature and adjust accordingly:
Warm pigments: red, orange, yellow
Cool pigments: blue, green, violet
Even a tiny dab of an opposite temperature complementary color subtly neutralizes intensity. Add the barest touch and reassess. Handling temperature gives your colors more realistic vibrancy.
Step 9 – Continuously Analyze and Refine Mixes
Meticulously observe and compare every blend in progress to your color spot or photo reference. If the mix still seems slightly off, determine what adjustment it needs – more warmth? Deeper value? Touch of complement? Then refine in small increments.
Perform this obsessive analysis as you gain experience. Isolate the color being precisely matched. Make micro adjustments to your blend, then recheck. Refining through scrutiny boosts color precision.
Step 10 – Practice Diligently to Develop Intuition
Practice truly is the only route to instinctual color-mixing abilities. Be patient during early learning stages. Thoroughly explore your paint’s characteristics and interactions. Analyze your mixes and continue tweaking over time.
Experiment with blending techniques like layering glazes for luminosity or incorporating neutrals. Constantly assess what worked or what went wrong. These dedicated efforts will be richly rewarded as your intuition eventually takes over and you are able to effortlessly replicate any desired color.
Tips for Success
- Use quality paints – artist grades have higher pigmentation for blending
- Purchase large tubes to limit constantly squeezing out paint
- Mix on proper palettes – disposable paper or stay-wet plastic
- Always squeeze out more paint than you think you need
- Remain patient – mastery arrives through extensive practice
FAQ
How do I avoid muddy color mixing?
Use a light touch when blending, build transparency through thin glazes, use high quality paints, and utilize complements strategically. Rushing the mixing process often creates mud. Be patient and mix in very small additions.
What if I can’t match a specific color?
Carefully analyze the target color based on temperature, value contrast, saturation, and context. Meticulously tweak your mix with minute additions of complements, white for tinting, or black for shading if needed. Observe how the color behaves naturally through isolation. Matching difficult colors takes practice.
Should I buy student or artist grade paints?
Artist grade contains substantially more pure pigment and blend truer. But student grades can be suitable for practicing mixing fundamentals. Upgrade to artist quality once your skills improve for better blending with professional work.
Conclusion
Implementing proven color theory mixing techniques will build intuition quickly. But cultivate patience during the initial learning process. Experiment relentlessly using quality paints and a color wheel for reference. Isolate color patches from photos to replicate. And continuously analyze and refine your mixes through extensive practice.
Your dedicated efforts will be richly rewarded as your brain memorizes pigment interactions. Before long, you will be able to instantly envision and blend any desired color. So commit to your mixing practice, embrace each failure as a chance to improve, and you will gain the expertise needed to infuse your artwork with stunning, nuanced color.